
Home Addition Planning Guide
How to plan a home addition around zoning, existing conditions, structure, envelope transitions, utilities, budget, permits, and construction sequencing.
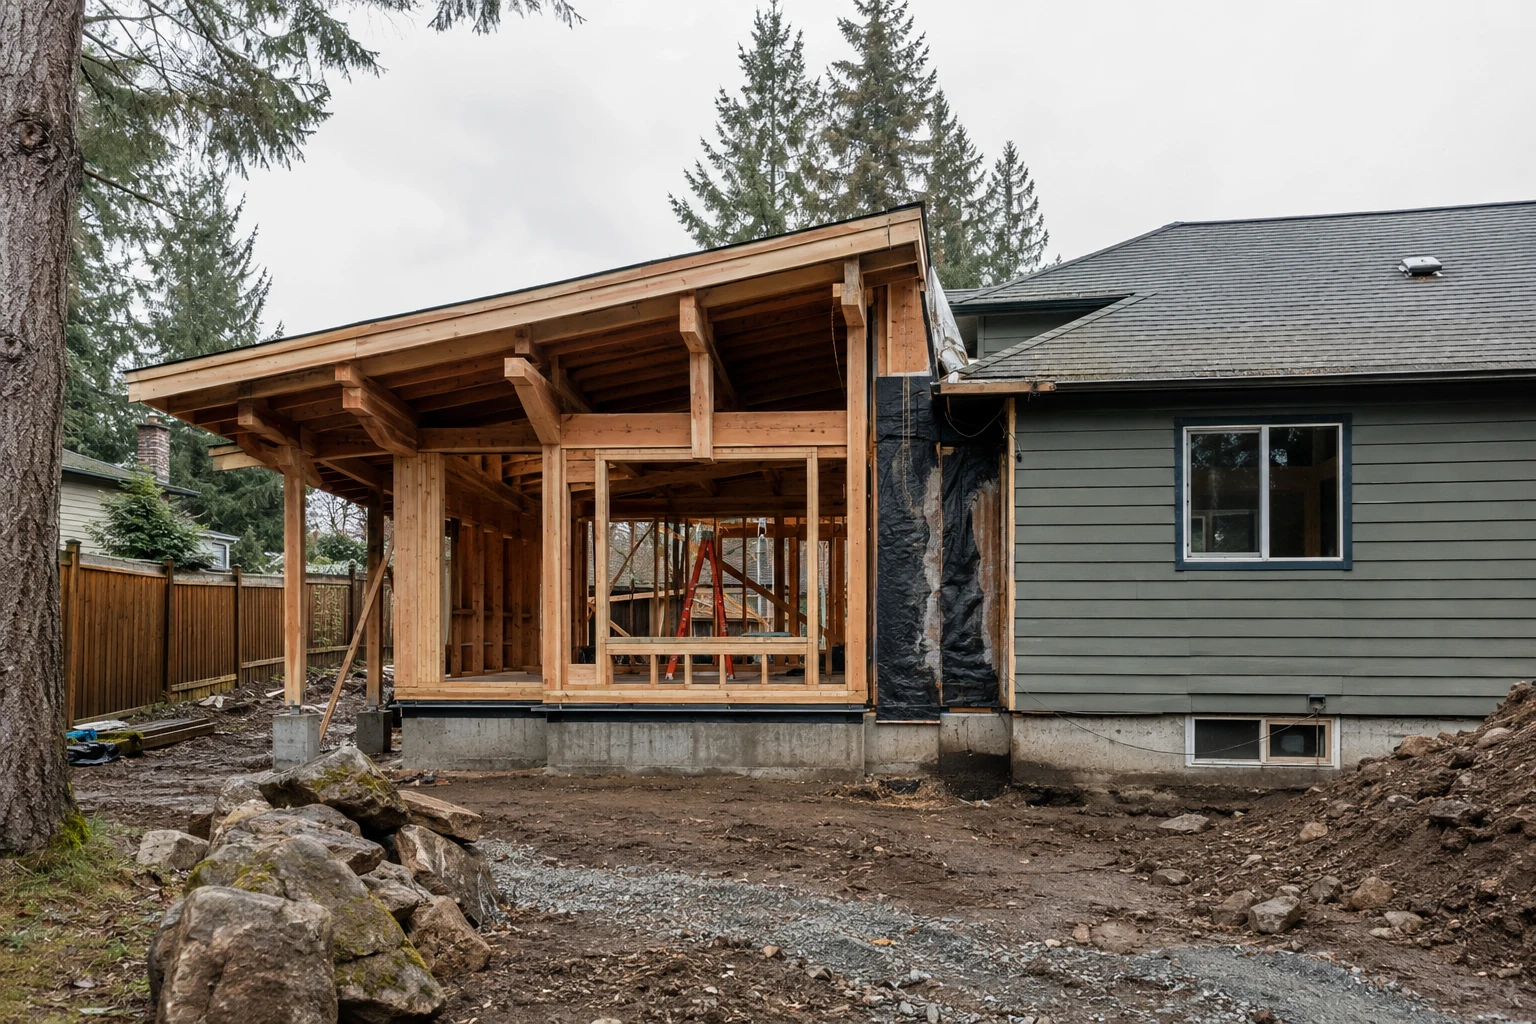
A home addition is a new building project joined to an existing structure. Good planning must resolve what can legally be built, how old and new construction connect, which systems need more capacity, how water is managed at every transition, and how occupants remain safe during the work.
Key takeaways
- Confirm zoning and site constraints before developing a detailed floor plan.
- Document the existing foundation, framing, utilities, envelope, and hazardous-material risks.
- Treat every old-to-new connection as a structural and water-management detail.
- Compare total project outcomes, not the cost of added floor area alone.
- Price a coordinated scope with documented assumptions, allowances, and exclusions.
- Plan temporary access, weather protection, shutdowns, and occupant separation.
Define the problem before choosing the shape
Begin with a short statement of need. An addition might create a bedroom, accessible bathroom, larger kitchen, work space, family room, or multigenerational suite. State which problems the new area must solve and which parts of the existing house may also need to change.
Then test alternatives. Reorganizing underused space, converting an existing room, finishing an eligible area, or building a detached structure may solve the same need with different cost and disruption. A second-story addition can preserve yard area but may create extensive structural and temporary-roof work. A ground-level addition may simplify access but consume setbacks, landscaping, or drainage area.
Confirm whether the addition is allowed
Planning and zoning rules determine whether the proposed size and location are allowed. Building codes govern how permitted work is constructed. Both questions matter, and they are usually handled through different parts of the local jurisdiction.
Verify:
- allowed use and dwelling configuration;
- front, side, and rear setbacks;
- lot coverage, floor-area, height, and story limits;
- easements, utilities, trees, drainage, slopes, shorelines, and critical areas;
- parking or access requirements;
- historic-district or design-review requirements;
- whether an accessory dwelling or additional unit triggers separate rules.
Do not rely on a neighboring project as proof of what is allowed. Lots, overlays, code cycles, existing nonconformities, and approval dates may differ.
As one official example, Oregon states that a permit is required to construct or enlarge a residential building and directs project-specific questions to the local building department. Other states and cities administer additions differently, so confirm the current rules where the property is located.
Investigate the existing house
Record drawings are useful but should not be treated as proof of concealed conditions. Measure the building and inspect accessible framing, foundation areas, attic, crawlspace, roof, exterior drainage, electrical service, plumbing, heating and cooling systems, and signs of prior leakage or movement.
The investigation should answer:
- Where can new loads reach suitable soil or existing foundations?
- Which walls and roof areas participate in the existing structural system?
- Can plumbing, electrical, heating, cooling, and ventilation systems support the new demand?
- Where do the water, air, vapor, and thermal control layers currently exist?
- Which concealed materials may require testing or controlled disturbance?
Homes built before 1978 may contain lead-based paint. The U.S. Environmental Protection Agency’s Renovation, Repair and Painting requirements can apply when paid work disturbs painted surfaces in covered housing. State-authorized programs may administer the rule in some locations. Asbestos and other hazards require their own project-specific review.
Design the structural connection
An addition changes more than floor area. Openings may be cut into exterior walls, roof loads may move, foundations may settle differently, and the building’s lateral-load path may change.
The design team should define:
- new foundation type and its relationship to existing foundations;
- floor, wall, and roof load paths;
- connections between new and existing framing;
- temporary shoring before existing supports are removed;
- seismic and wind-force-resisting elements;
- movement joints where different systems require separation;
- observation and inspection points before work is concealed.
Structural decisions made after bidding commonly become expensive change orders because they affect demolition, excavation, framing, finishes, and schedule at once.
Detail the envelope transition
The joint between old and new work is a common failure location. Roof intersections, valleys, step flashing, wall membranes, window openings, decks, foundation waterproofing, and changes in cladding must drain water outward while maintaining control-layer continuity.
Use the building envelope guide to trace each control layer across the addition. In wet regions, the rainy-climate construction guide provides a checklist for temporary protection and drying.
Avoid treating caulk as the primary strategy for a transition that can be lapped, flashed, drained, or protected by geometry. Sealants have useful roles but require compatible substrates, joint design, access, and maintenance.
Coordinate utilities and comfort
Added rooms can expose limitations in existing systems. Confirm electrical service and panel capacity, water pressure, drainage routing, hot-water demand, heating and cooling loads, ventilation, and equipment access.
Extending the nearest duct or pipe is not automatically the best answer. Long routes, undersized equipment, inaccessible valves, poor return-air paths, and unbalanced zones can create comfort and maintenance problems. Whole-house upgrades may be more rational when the existing equipment is near replacement.
Build a complete budget
The addition’s visible room is only part of the project cost. Include design, surveys, engineering, studies, permits, utility work, demolition, temporary protection, structural modifications, envelope repairs, system upgrades, interior tie-ins, landscaping restoration, and contingency.
Use three budget scenarios:
- Low: known conditions, straightforward access, limited existing-house upgrades.
- Typical: coordinated structural and system work with normal investigation findings.
- High: difficult access, extensive tie-ins, service upgrades, concealed damage, or complex approvals.
These are scenario definitions, not price ranges. Local pricing should be dated, sourced, and based on a documented scope.
Plan construction around the occupied house
Decide whether occupants can safely remain. The answer depends on egress, utilities, dust, noise, weather exposure, hazardous materials, security, and the location of demolition.
A phasing plan should identify:
- construction access and material storage;
- temporary walls and weather barriers;
- utility shutdown dates and temporary services;
- protection of occupied rooms and belongings;
- safe exits, smoke alarms, and site separation;
- roof-opening and dry-in sequence;
- inspections and moisture checks before enclosure;
- final testing, cleanup, and closeout documents.
Compare bids on the same assumptions
Issue the same drawings, specifications, investigation information, and clarifications to each bidder. Use the contractor bid comparison guide to normalize allowances, exclusions, schedule, temporary work, and closeout.
If the addition is part of a wider renovation, the whole-house remodeling guide helps coordinate work that extends beyond the new footprint.
Sources and limitations
- Oregon residential permit guidance
- EPA Renovation, Repair and Painting information for consumers
- EPA RRP information for contractors
This guide does not determine zoning, code compliance, structural adequacy, hazardous-material obligations, or cost for a specific property. Use qualified professionals and current information from the authority having jurisdiction.
Related articles
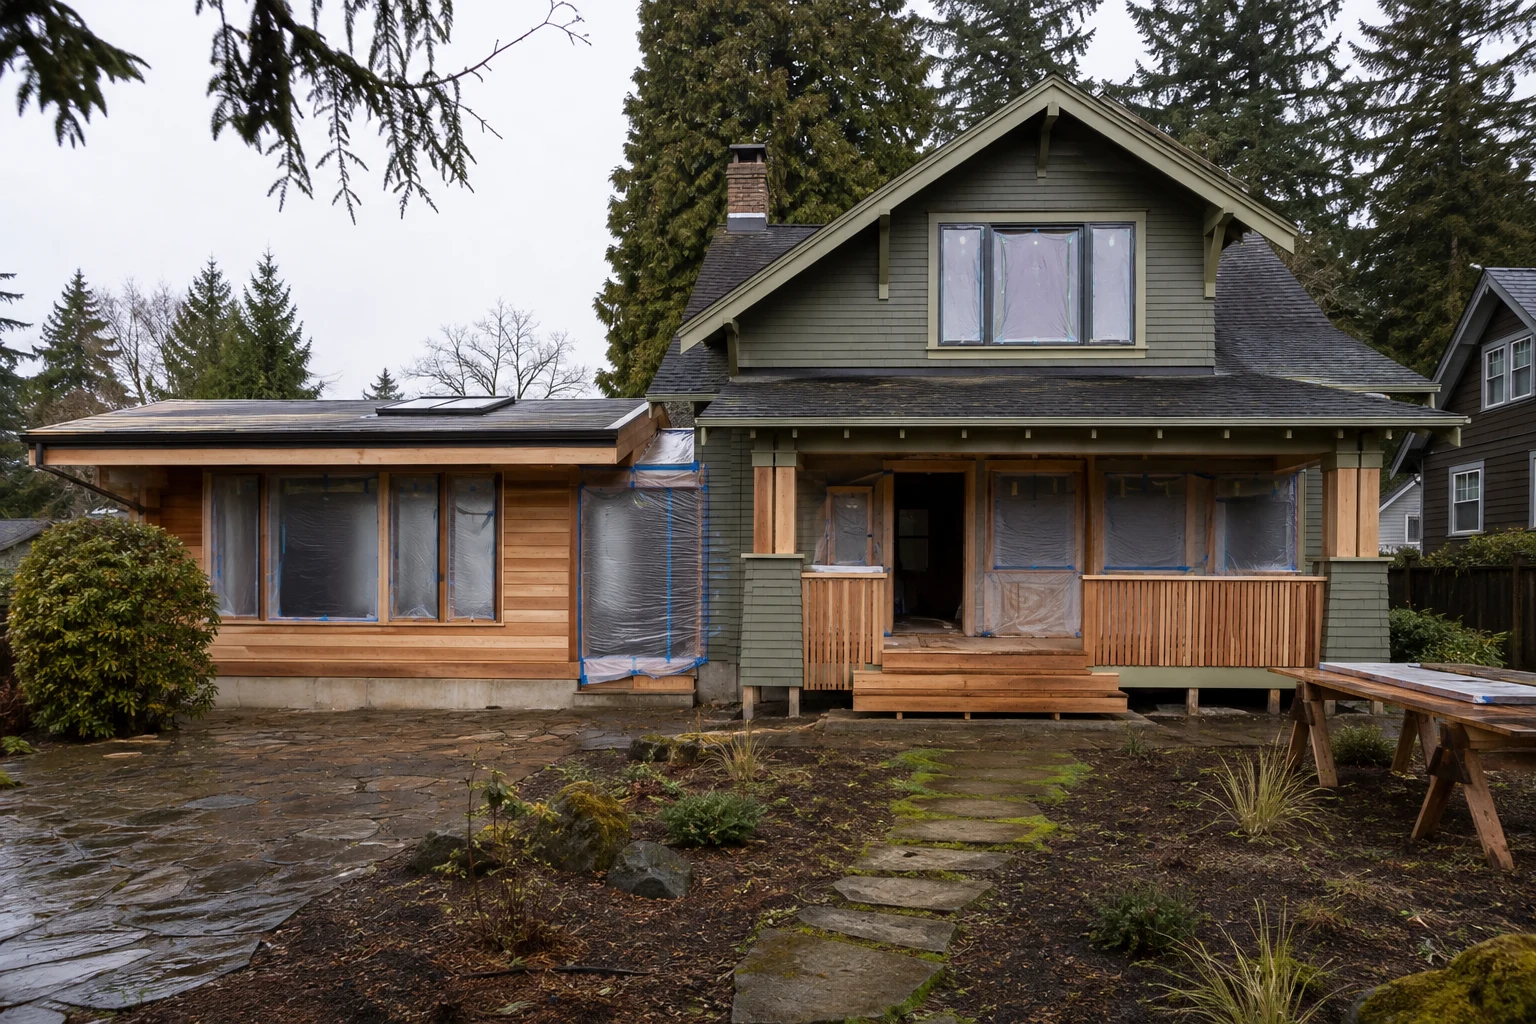
Whole-House Remodeling on the West Coast
A practical sequence for defining scope, investigating existing conditions, budgeting, permitting, and coordinating a major home renovation.
Read article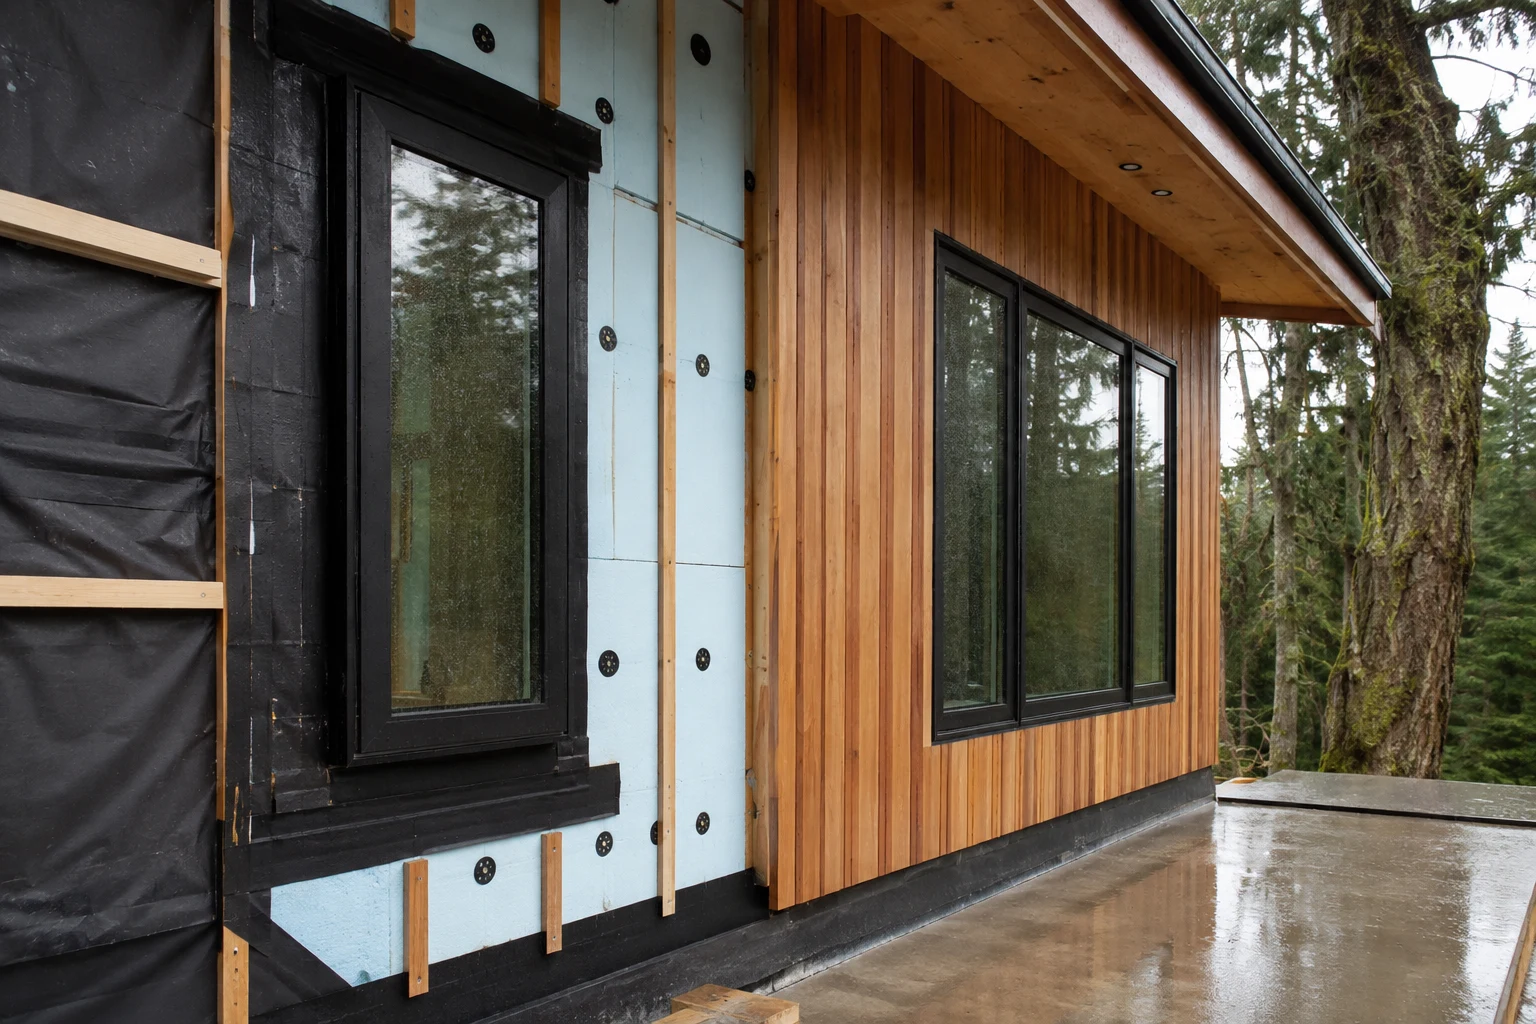
Building Envelope Basics for West Coast Projects
A clear guide to water, air, vapor, and thermal control layers, plus the transitions that determine wall and roof durability.
Read article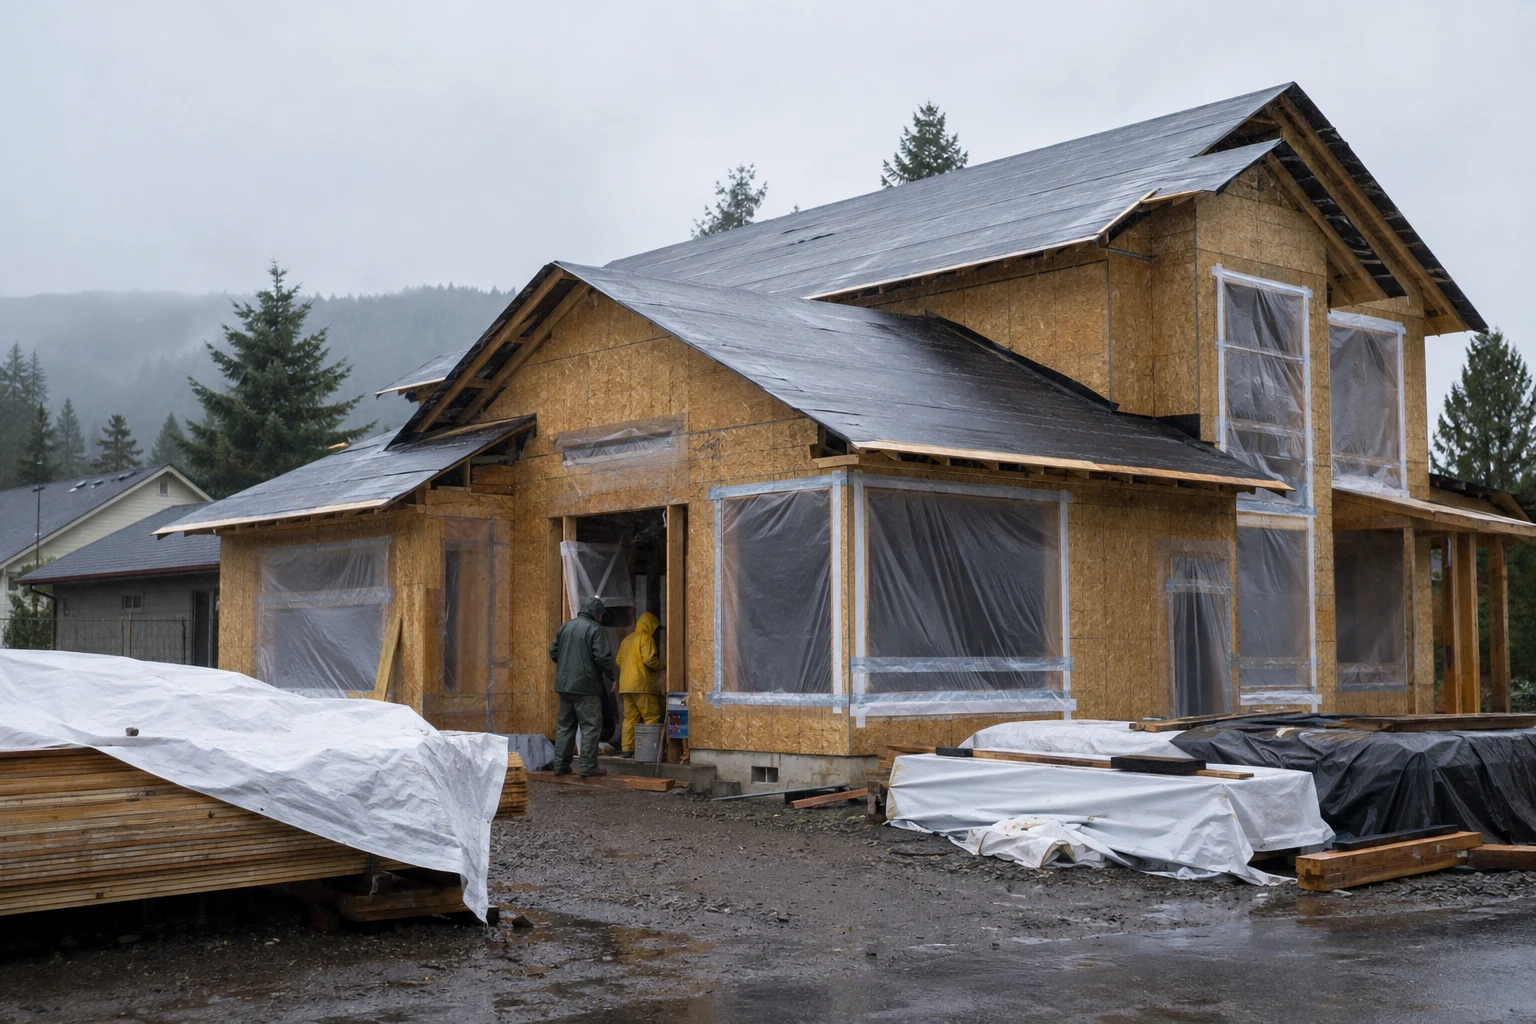
Building for Rainy Climates
Construction priorities for wind-driven rain, drainage, flashing, temporary protection, drying, and moisture verification in wet West Coast regions.
Read article