
Building for Rainy Climates
Construction priorities for wind-driven rain, drainage, flashing, temporary protection, drying, and moisture verification in wet West Coast regions.
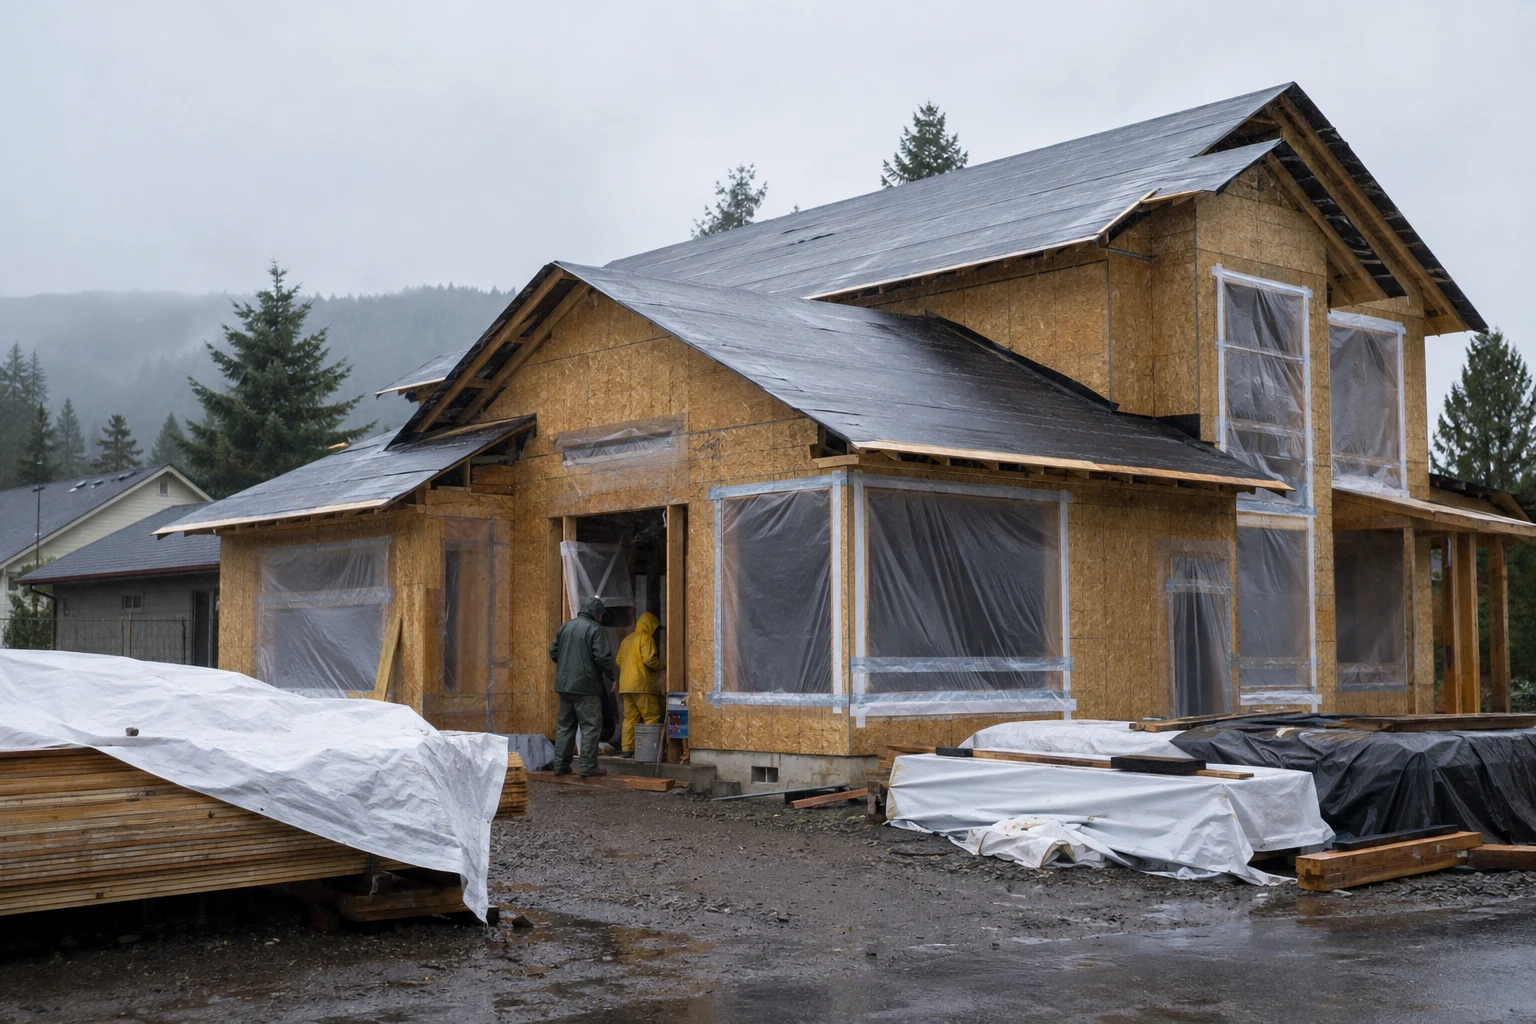
Construction for a rainy climate should assume that exterior finishes admit some water and that exposed materials may become wet during construction. Durable projects provide a continuous water-control layer, drained transitions, drying potential, and a plan for protecting and verifying materials before concealment.
Key takeaways
- Rain exposure depends on wind, height, terrain, orientation, roof geometry, and local storms, not annual rainfall alone.
- Exterior finishes should be treated as the first line of defense, not the only water-control layer.
- Openings, decks, roof intersections, penetrations, and material changes deserve project-specific details.
- Drainage, drying, temporary protection, indoor humidity control, and maintenance form one moisture strategy.
- A wet material should not be concealed because its surface looks dry; use appropriate measurements and acceptance limits.
- Start with the Climate & Durability hub and verify current local requirements for the actual site.
Define the actual rain exposure
Two buildings in the same city can receive different loads. An upper-story corner on open terrain may see far more wind-driven rain than a recessed ground-floor wall below a deep overhang. Coastal orientation, neighboring buildings, vegetation, roof runoff, splashback, and grade all affect wetting.
Map the elevations by exposure before choosing details. Identify walls without overhangs, parapets, balconies, roof-to-wall intersections, concentrated drainage, and areas close to paving or landscaping. The Pacific Northwest construction guide explains why coastal, valley, mountain, and interior sites should not share one regional assumption.
Annual rainfall totals do not describe short, intense events or wind direction. NOAA notes that atmospheric rivers can deliver large amounts of rain and high-elevation snow over short periods in the Pacific Northwest. The design response is robust drainage and safe overflow, not a prediction based on one average year.
Design for wind-driven rain
Rain does not fall straight down on every site. Wind can drive water upward, sideways, behind cladding, into vents, and against joints that remain dry in mild weather.
Exposure increases at building corners, upper stories, open terrain, coastal sites, and walls without protective overhangs. Details should not rely on face sealant as the only defense where water can be directed back to the exterior through laps, flashings, and drainage paths.
Overhangs, recesses, flashings, drips, and sloped surfaces reduce wetting through geometry. They remain useful even when membranes and sealants are specified. Horizontal surfaces should not direct runoff behind cladding or toward vulnerable end grain and joints.
Make the drainage path continuous
The water-resistive barrier and flashings must connect around openings and across changes in material. Window and door installation is not complete until the opening flashings connect to the wall drainage plane and the head condition directs water outward.
Review:
- Head, sill, and jamb transitions at openings
- Roof-to-wall intersections and kick-out flashing
- Deck, balcony, and ledger attachments
- Wall penetrations and mounting blocks
- Base-of-wall drainage and clearance
- Parapets, coping joints, and roof-edge conditions
- Horizontal trim and material transitions
Every drainage cavity needs a clear exit. Mortar, sealant, insulation, insect screens, and finish materials can block the path if the detail does not reserve space.
Choose a wall water-management approach
| Approach | Primary strategy | Main dependency | Typical risk to review |
|---|---|---|---|
| Direct-applied or face-sealed | Resist water at the exposed surface and sealed joints | Durable joints, workmanship, movement accommodation | A small defect can admit water with limited drainage |
| Drained wall | Shed most rain, then drain water at a secondary plane | Continuous WRB, flashings, and open exits | Reverse laps or blocked drainage paths |
| Rainscreen wall | Add a defined cavity for drainage and drying | Furring, attachment, ventilation, fire and insect detailing | Cavity discontinuity or poorly coordinated penetrations |
| Mass wall | Absorb, redistribute, and release limited moisture | Material thickness, exposure, coatings, and drying conditions | Saturation, freeze-thaw damage, or interior moisture transfer |
These categories are simplified. Some proprietary systems combine strategies, and pressure-equalized assemblies require engineering beyond a basic drained cavity. Read the rainscreen wall systems guide before using the term in specifications.
Provide drying potential
Assemblies dry through vapor diffusion, airflow, drainage, or a combination. The direction and rate depend on climate, sun, wind, material permeability, interior humidity, and mechanical operation.
Reservoir claddings such as masonry and stucco can store rainwater. Ventilated or drained cavities can reduce the amount of stored moisture reaching sensitive layers, but cavity dimensions and detailing must match the system.
Avoid adding low-permeance layers to both sides of moisture-sensitive materials without analysis. The concern is not that low-permeance materials are always wrong. It is that trapped construction moisture or leakage may have no practical drying route.
The vapor strategy must also consider air leakage. Moving air can carry moisture through gaps and deposit it on cold surfaces. The building envelope guide separates air and vapor control so that each can be detailed intentionally.
Control water during construction
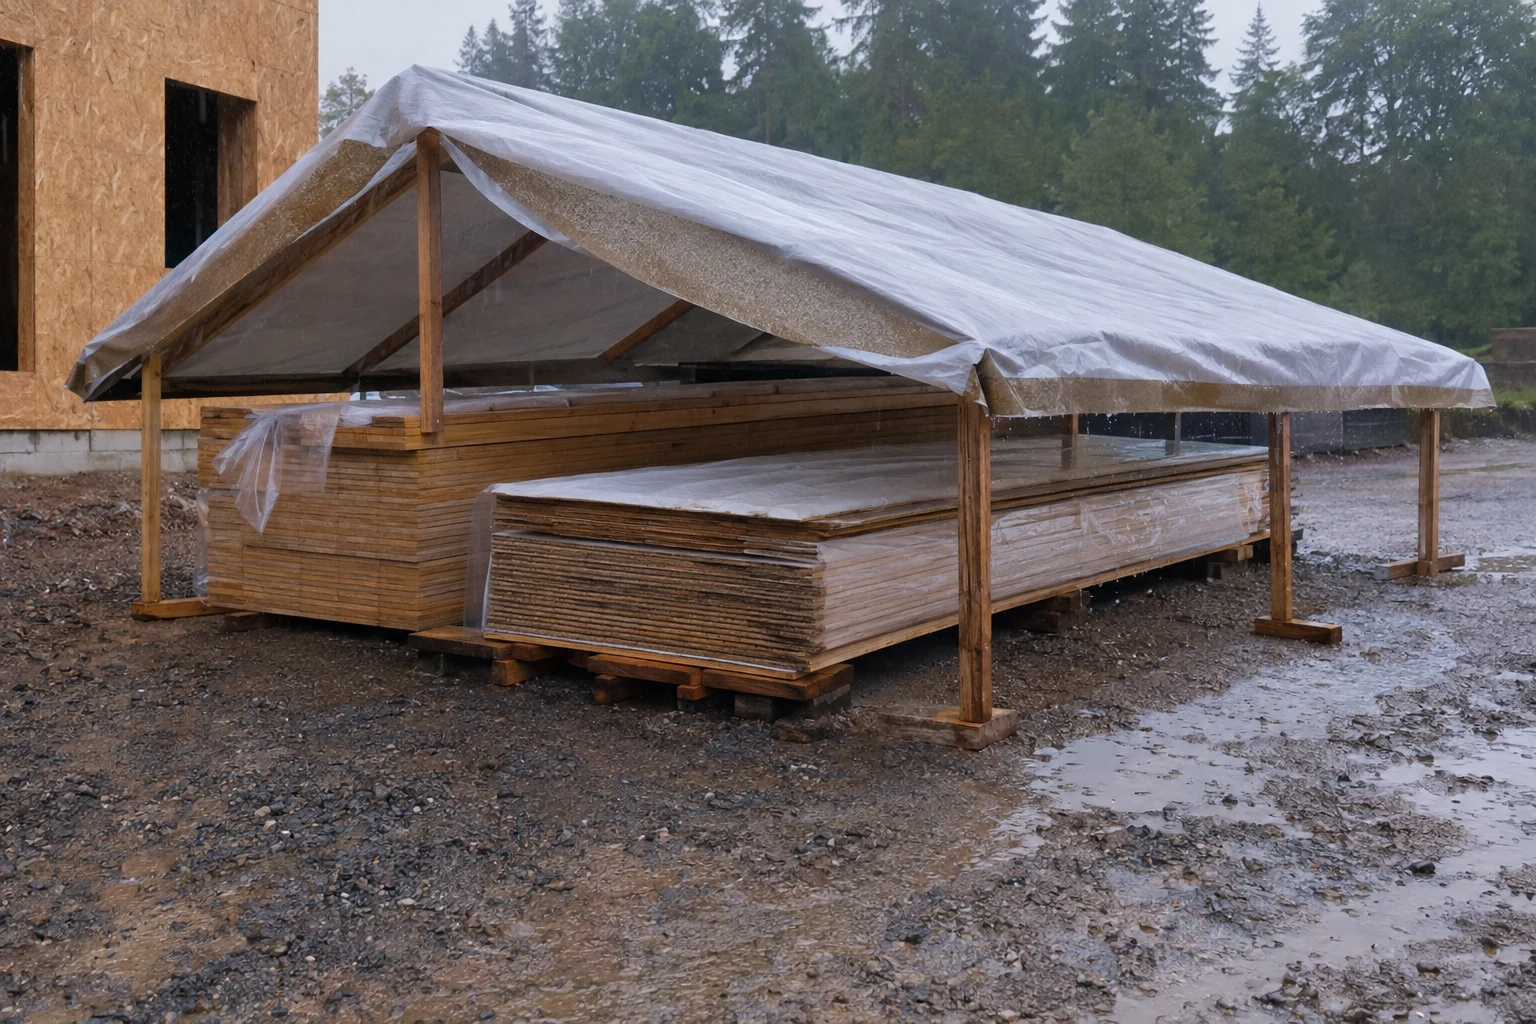
The completed enclosure cannot protect materials that were already wet when covered. The project plan should identify temporary roofs, wrapped openings, stored-material protection, dewatering, drainage, heating, ventilation, and moisture testing.
Do not treat surface appearance as proof that framing, sheathing, concrete, or substrates are ready for enclosure. Use material-appropriate measurement methods and follow finish, flooring, adhesive, and coating requirements.
Sequence work so that:
- Water is directed away from the structure.
- Sensitive materials are stored off the ground and covered.
- Roof and wall protection becomes continuous early.
- Wet materials can dry before low-permeance finishes are installed.
- Flashing and control layers are inspected before concealment.
Assign responsibility in the construction plan. Identify who maintains temporary roofs and wraps, who responds after a storm, which meter and test method are accepted, where readings are recorded, and who authorizes enclosure. Without ownership, moisture checks become informal and inconsistent.
Concrete, masonry, lumber, sheathing, gypsum, insulation, flooring substrates, coatings, and adhesives have different measurement methods and acceptable conditions. Use the material manufacturer’s requirements and qualified judgment rather than applying one moisture-content number to every product.

Coordinate indoor moisture
Air sealing changes how a building exchanges moisture with outdoors. Kitchens, bathrooms, laundry, occupants, and construction processes add indoor moisture. Ventilation and source control should be coordinated with enclosure improvements.
During cold weather, uncontrolled indoor air moving into cold assemblies can deposit moisture. Air-barrier continuity and indoor humidity management are therefore part of wet-climate durability.
Mechanical systems also need commissioning and maintenance. Exhaust fans must move air outdoors, condensate drains must remain open, and pressure imbalances should not pull wet outdoor air through unintended paths. The moisture control guide connects enclosure leaks, plumbing, ground moisture, construction water, and indoor humidity.
Review materials as parts of the assembly
Cladding selection affects wetting and drying, but no material removes the need for a drainage plane. Wood and engineered wood need coating, end treatment, clearances, and back-side drying appropriate to the product. Fiber cement needs correct storage, cutting, fastening, clearances, and finishing. Stucco and masonry can store water and need compatible drainage details. Metal panels need joint, condensation, corrosion, and attachment review.
Use the Pacific Northwest siding guide to compare material families without treating one option as universally best. Product instructions, evaluation reports, warranties, and local code must match the proposed assembly and exposure.
Use mockups and water testing strategically
A representative wall mockup can reveal sequencing conflicts before they repeat across the project. Include a window, sill, head, jamb, penetration, cladding attachment, base termination, and material transition when those conditions are important.
Testing should answer a defined question. Window or wall water testing is most useful when performed at an agreed stage, under an agreed procedure, with clear acceptance criteria and a repair protocol. Testing only at the end may identify leakage after finishes hide the source and access becomes expensive.
Document the accepted mockup and first installations with photographs and field reports. Later work should match the accepted sequence, not only the final appearance.
Maintain drainage after occupancy
Wet-climate durability continues after turnover. Inspect roofs, gutters, scuppers, flashings, sealants, cladding joints, decks, clearances, and base-of-wall openings. Keep soil, mulch, paving, snow, and vegetation from blocking drainage or holding moisture against vulnerable materials.
Interior staining, musty odors, repeated sealant failure, corrosion, peeling coatings, and swollen finishes deserve investigation. A cosmetic repair can hide the symptom while the water path continues.
Rainy-climate checklist
- Identify wind-driven-rain exposure by elevation
- Draw a continuous water-control layer
- Detail openings, attachments, penetrations, and terminations
- Provide drainage exits and serviceable clearances
- Evaluate storage claddings and drying direction
- Protect materials during transport, storage, and installation
- Measure moisture before enclosure and finish installation
- Coordinate air sealing and ventilation
- Photograph concealed flashing and transitions
- Include periodic inspection and maintenance access
Common questions
Does a rainy climate always require a ventilated rainscreen?
Not every assembly uses the same cavity. Exposure, cladding type, building height, code, fire requirements, substrate, and desired drying capacity determine the approach. A drained space is often valuable, but it must be detailed as part of the complete wall.
Can housewrap fix a leaking window detail?
No. The water-control layer, sill pan, jamb and head flashings, window drainage, sealants, and adjacent cladding must connect in a buildable sequence. A membrane cannot compensate for a reverse lap or blocked exit.
How dry is dry enough before concealment?
There is no universal number for all materials. Use a suitable meter or test method, the finish or product manufacturer’s limits, known reference readings, and professional judgment. Record locations and results.
Is visible mold the first sign of a moisture problem?
Not necessarily. Odor, staining, corrosion, condensation, finish failure, elevated material moisture, or repeated occupant complaints may appear first. Find and correct the moisture source before focusing on surface cleaning.
Sources and limitations
This guide was reviewed against the U.S. Department of Energy Building America Solution Center, the DOE drainage-plane guide, the EPA Moisture Control Guidance, the Whole Building Design Guide, and NOAA information on Pacific Northwest atmospheric rivers.
Rain exposure and code requirements vary by site. Project-specific enclosure design, testing, and inspection should be provided by qualified professionals where risk warrants it.
Related articles
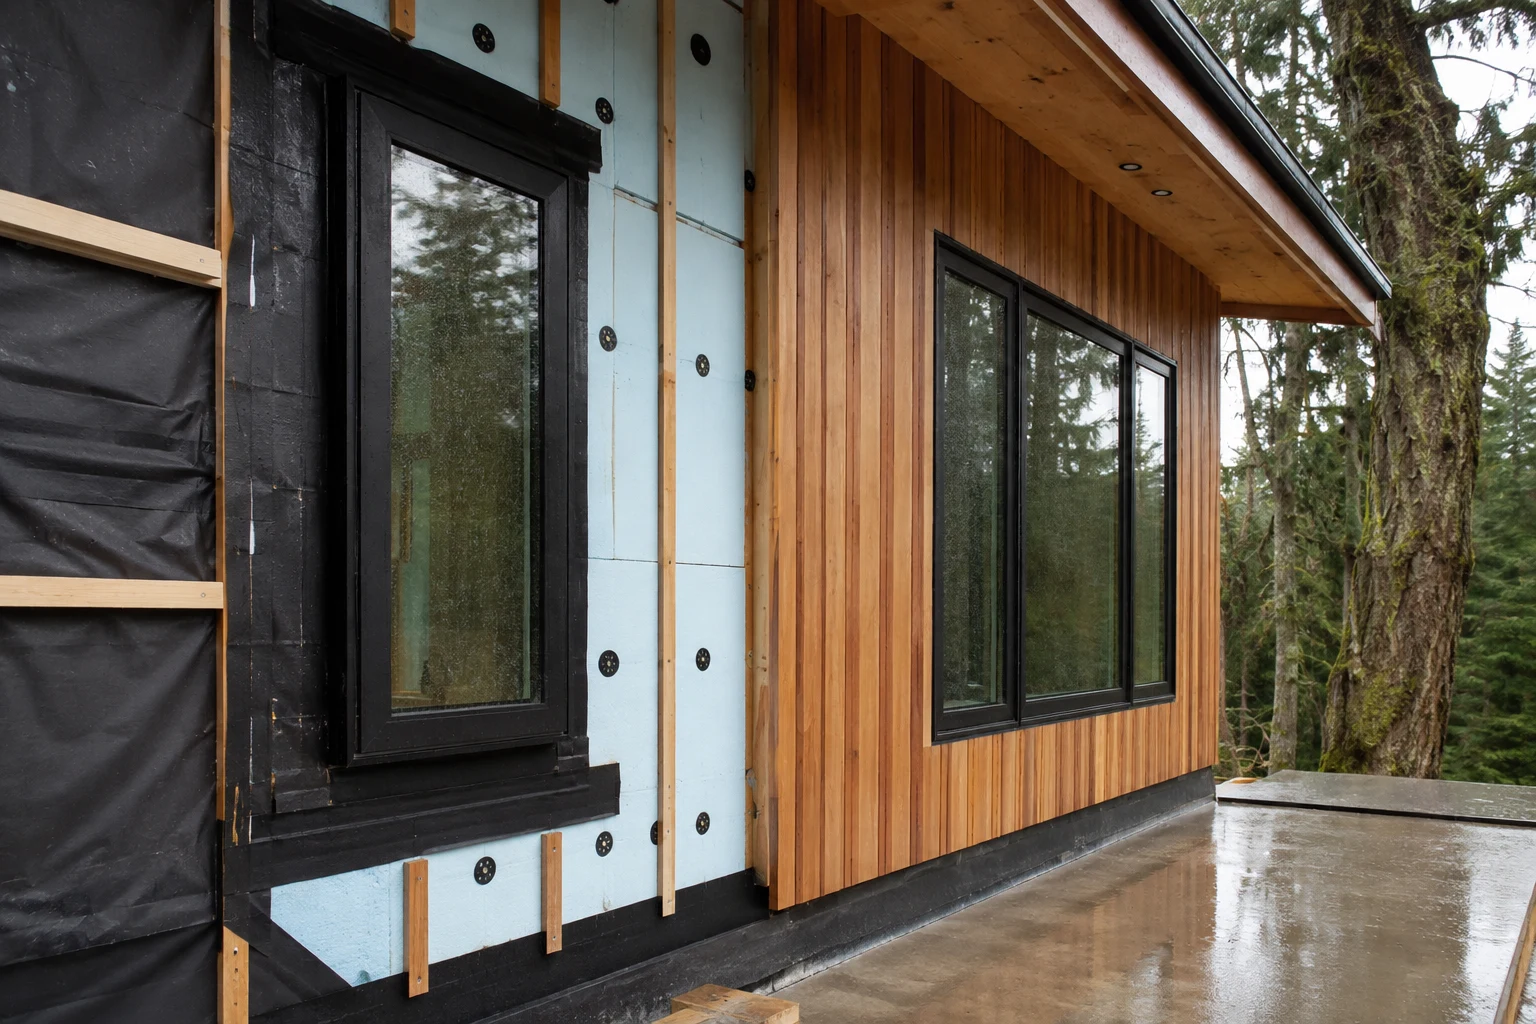
Building Envelope Basics for West Coast Projects
A clear guide to water, air, vapor, and thermal control layers, plus the transitions that determine wall and roof durability.
Read article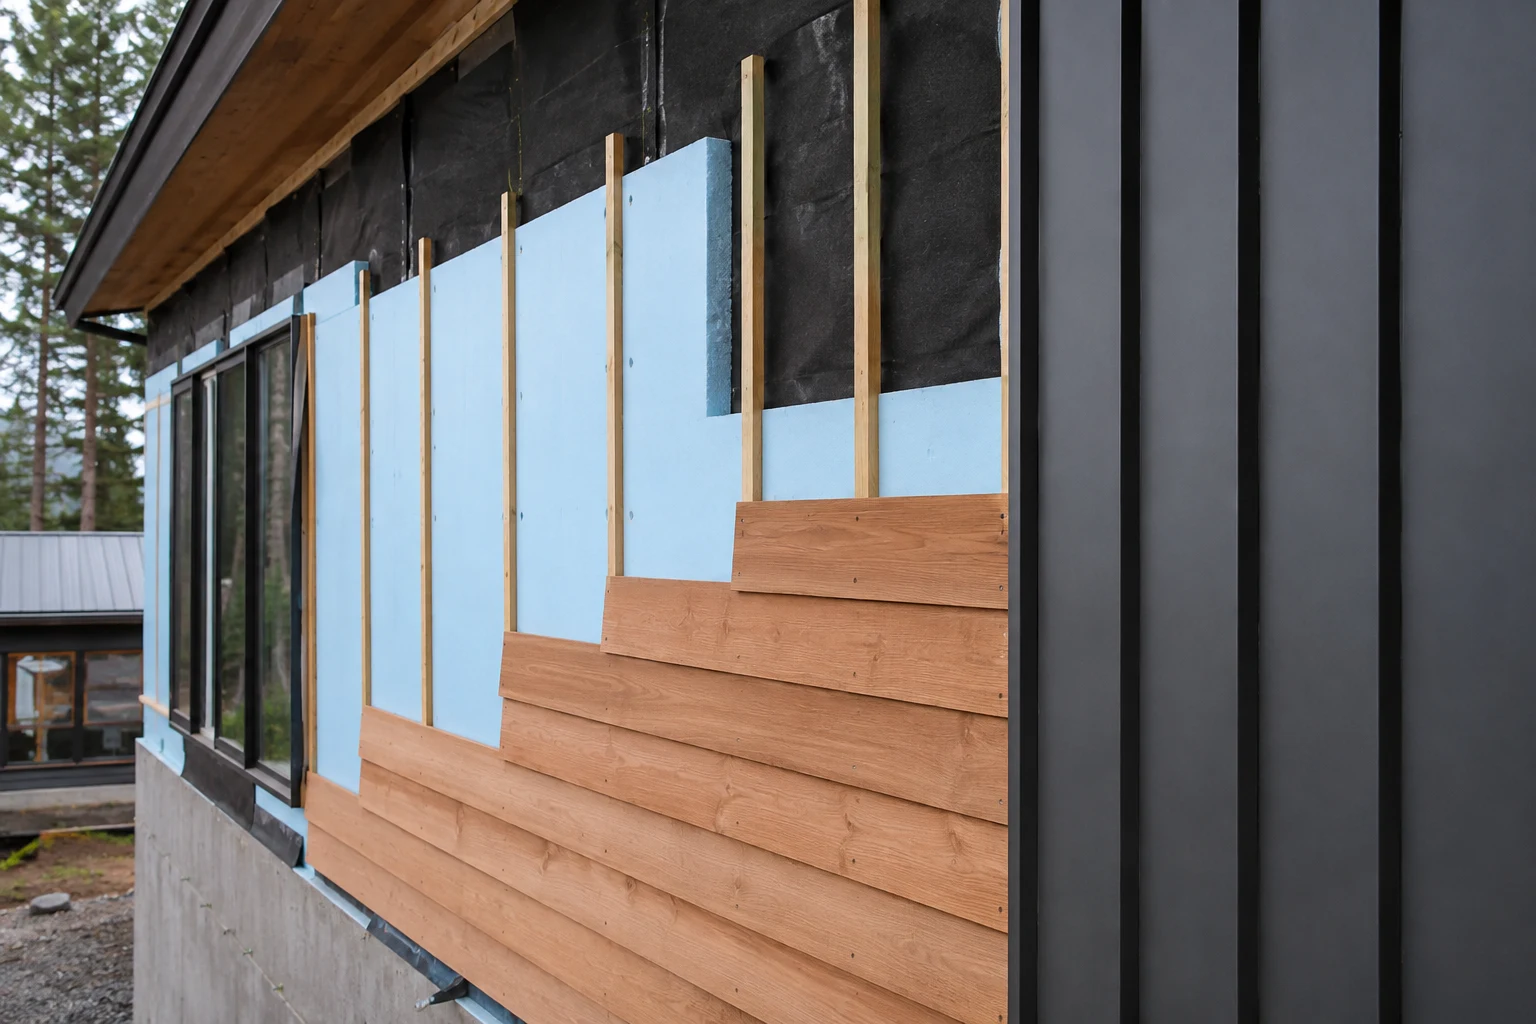
Rainscreen Wall Systems: Design and Construction Guide
How rainscreen walls manage rain, drainage, drying, pressure, attachments, openings, fire, insects, installation, and maintenance.
Read article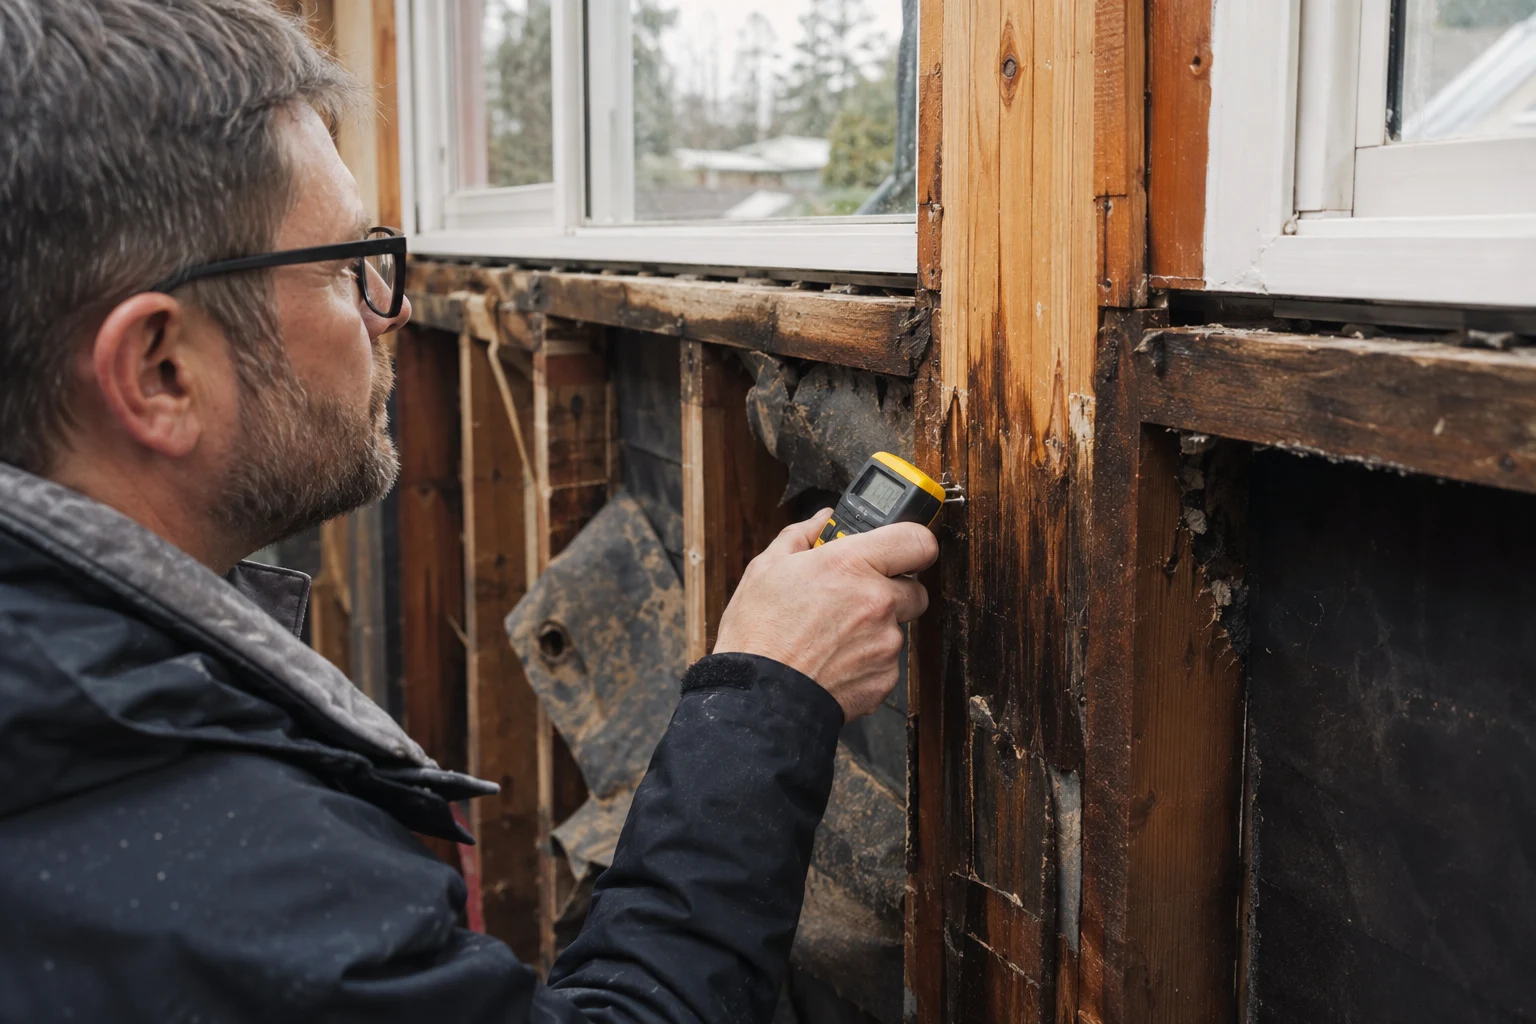
Moisture Control in Buildings: Design, Construction, and Maintenance
A practical guide to controlling rain, groundwater, air leakage, vapor, plumbing leaks, and construction moisture in durable buildings.
Read article