
Housewrap Inspection Before Cladding: Shingle Laps, Cap Fasteners and Tear Repairs
Inspect housewrap laps, cap fasteners, seam tape and tear repairs before cladding. Compare product-specific details and download an inspection checklist.
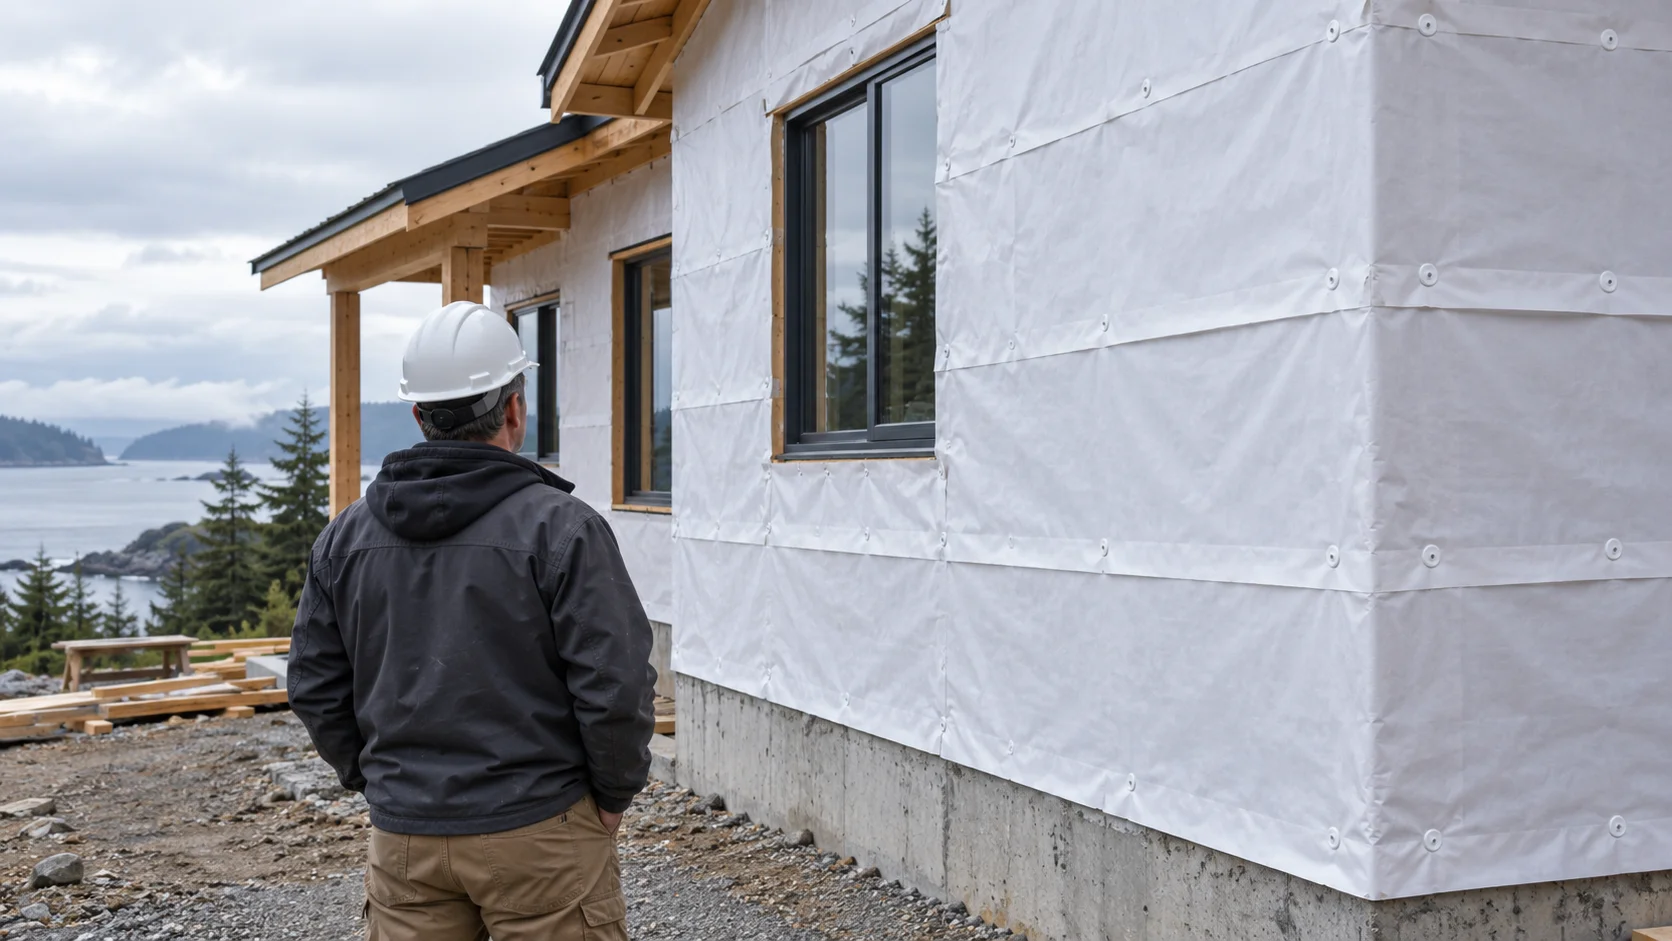
Start your housewrap installation inspection with the lap direction, fastening schedule, seam tape and damaged areas. Use the product-specific checks below, then record corrections in the downloadable checklist.
For TYPAR BuildingWrap, inspect for tears after installation and before exterior cladding. Before siding, check that seam tape has bonded to the housewrap.
Keep the installed product name and installation detail beside your inspection record. For the broader wall assembly, explore our building envelope guide and Building Materials.
Check the weather-resistive barrier lap
TYPAR BuildingWrap
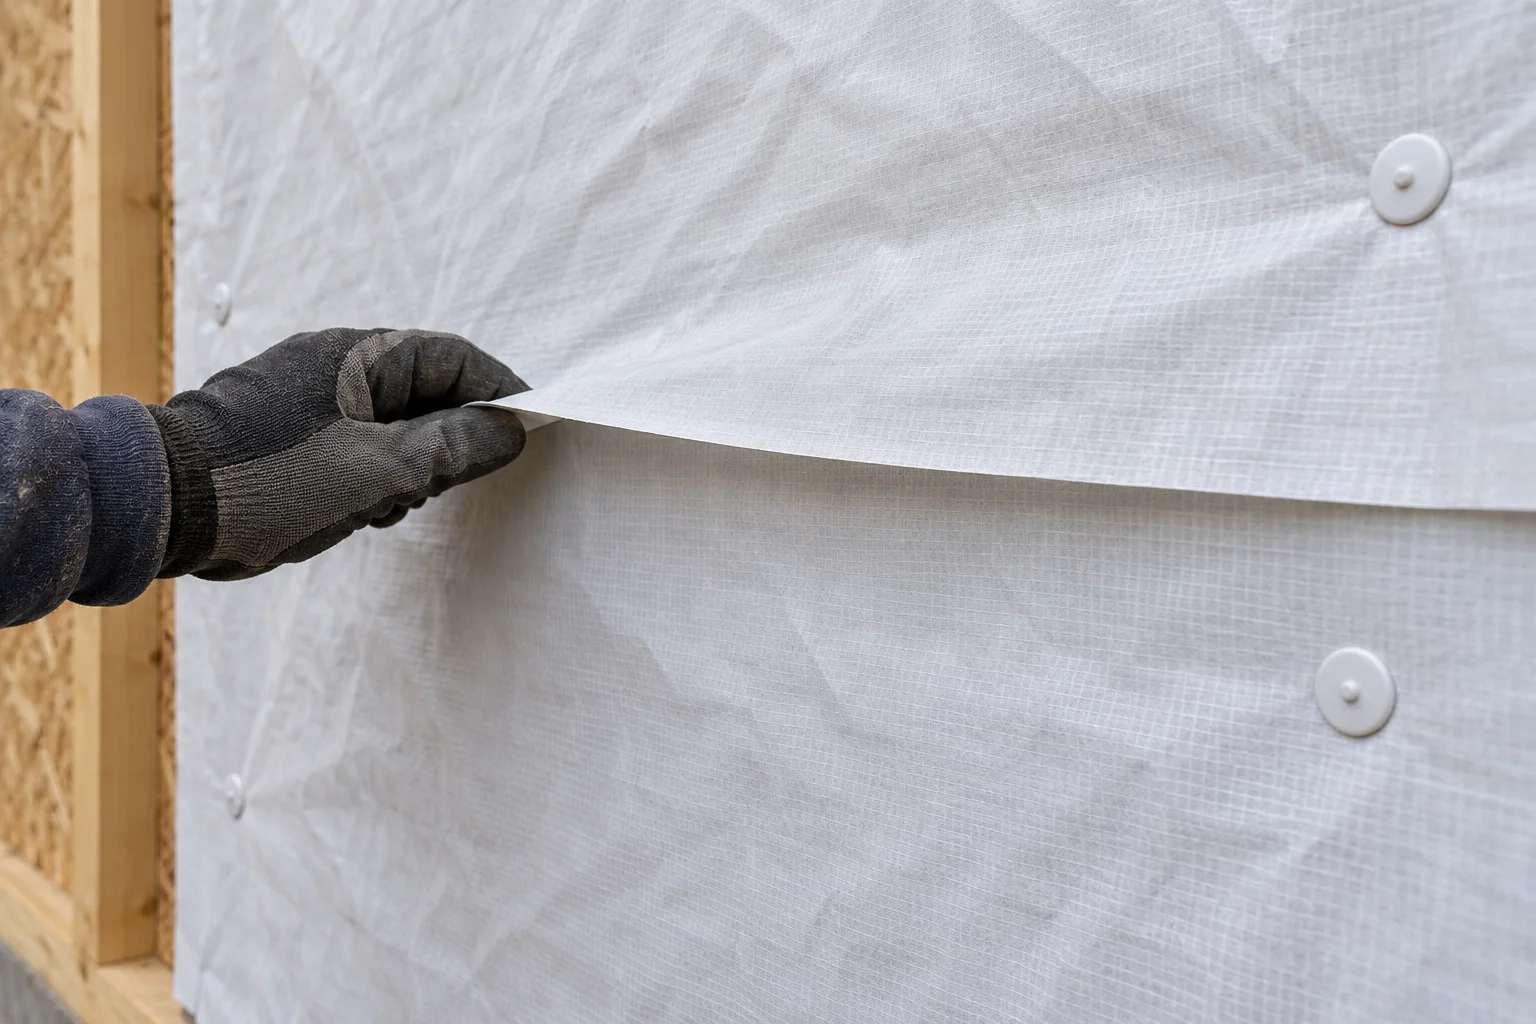
Start TYPAR BuildingWrap at the bottom of the wall with the printed side facing out. Pull the wrap snug, avoid wrinkles and creases, and keep it level. The upper layer of TYPAR BuildingWrap should overlap the bottom layer by at least 6” (152 mm) vertically and horizontally.
A sill-plate overlap of at least 1” (25.4 mm) is required for TYPAR BuildingWrap. A sill-plate overlap of 2-4” (51-102 mm) is recommended for maximum protection.
Barricade Wrap, Wrap Plus and R-Wrap
For Barricade Wrap, Wrap Plus and R-Wrap, lap the higher wrap piece over the outside of the lower piece. Horizontal overlaps must be at least 2”. Horizontal overlaps of 4” are recommended. Vertical overlaps must be at least 6”.
Record the product, lap location, specified overlap and observed overlap together. Include a photograph of each area needing correction.
Cap nails vs. staples: check the cap and the fastening detail
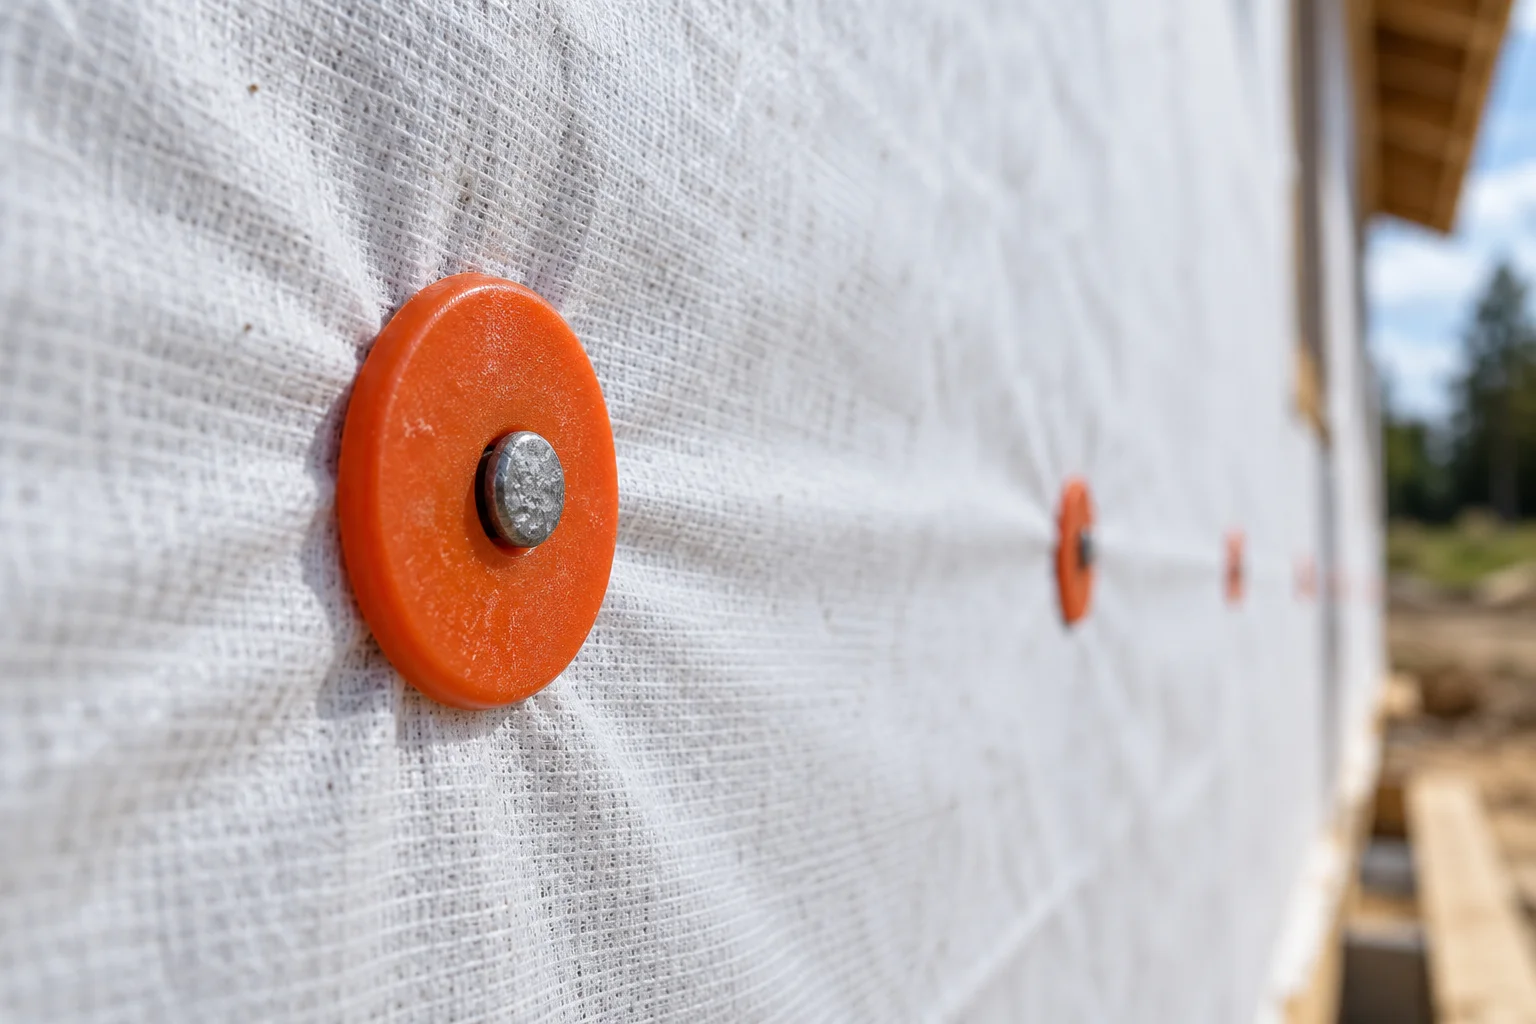
Cap nails with a large plastic washer are recommended for wood-framed construction.
For TYPAR BuildingWrap attachment to studs, plastic-capped staples are a permitted fastening option. For TYPAR BuildingWrap, plastic-capped fasteners should be used and spaced at 32” OC vertically and horizontally over 7/16” OSB or 15/32” plywood. When installing TYPAR BuildingWrap over metal framing, use screws with washers.
Tyvek cap fasteners and temporary staples
Use the following Tyvek checks for wood-framed Type III and Type V structures, including multifamily and light commercial work, with windows and doors installed after the WRB. Keep the cap-nail and cap-staple schedule identified on the inspection record.
Tyvek cap nail or cap staple fasteners should be spaced from 6” to 18” on vertical stud lines. Fasteners longer than the sheathing thickness must be installed into studs. Temporary fasteners have limited holding power and should not be relied on for permanent attachment.
Under the Tyvek temporary-fastening detail, plain staples should not be used with fiberboard or foam sheathing. Each temporary uncapped staple must be covered with Tyvek Tape when installing as an air barrier.
Record cap nails, cap staples and uncapped staples separately. Note the substrate, fastener spacing and any temporary fastening awaiting correction.
Inspect tears and restore the patch lap
TYPAR BuildingWrap repairs
Repair TYPAR BuildingWrap tears with TYPAR Construction Tape or TYPAR flashing. Once the structure is completely covered, tape all seams and penetrations using TYPAR Construction Tape.
Tyvek tear and hole repairs
For the Tyvek wood-framed installation scope above, use the following repair sequence.
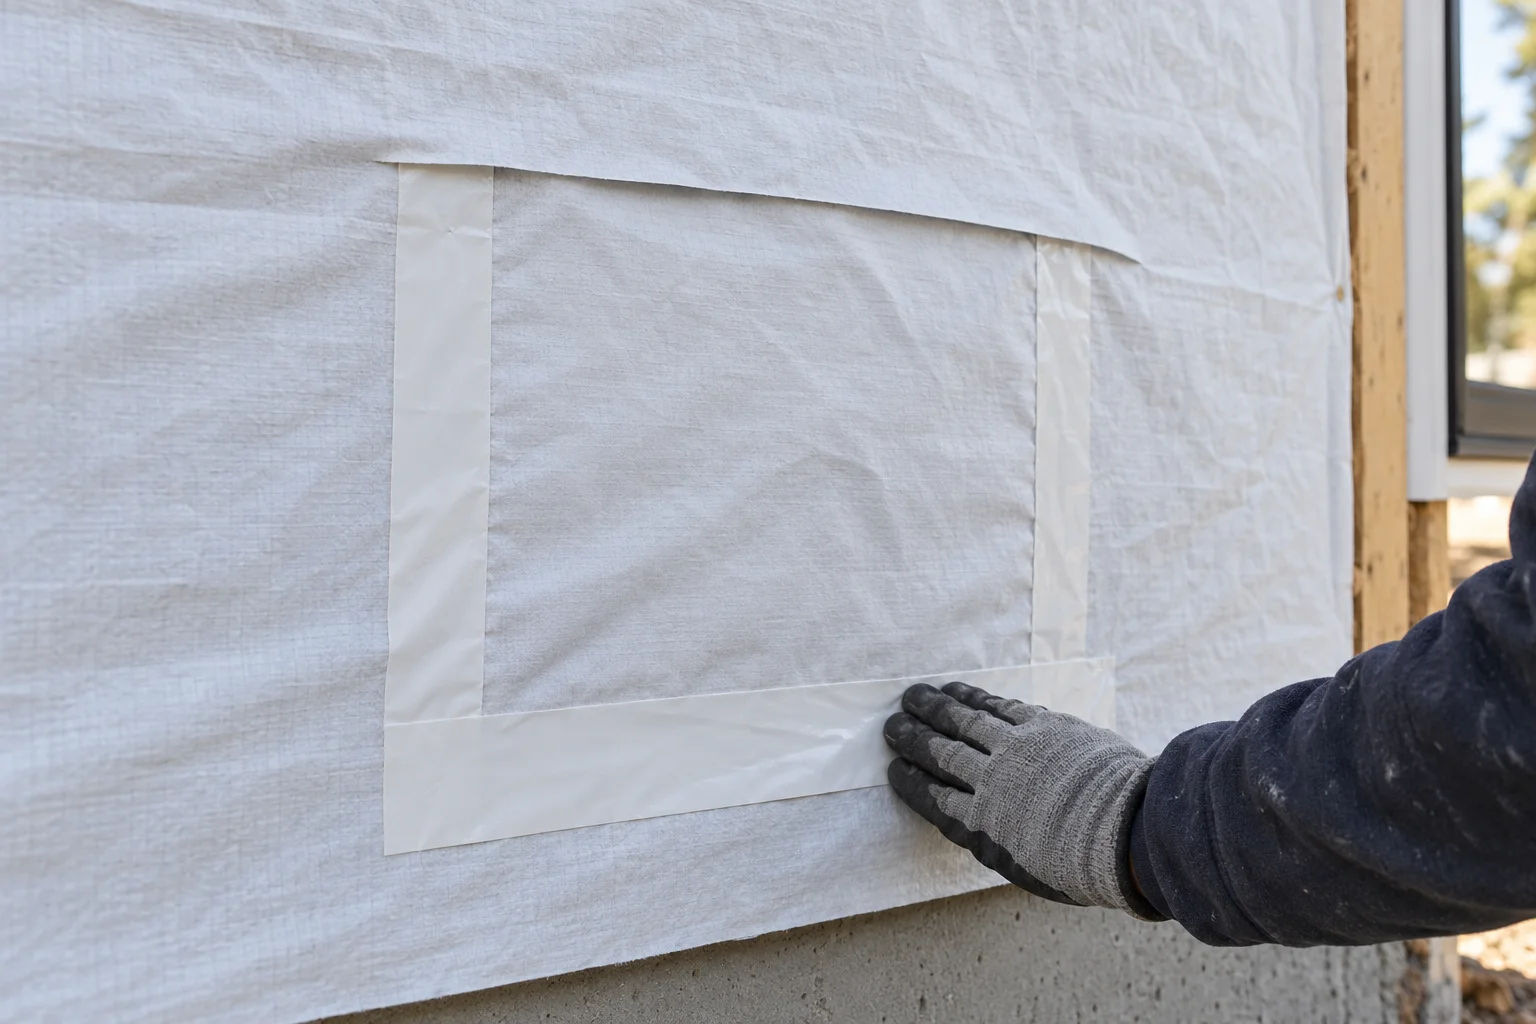
All tears should be sealed with Tyvek Tape or DuPont Self-Adhered Flashing Products. Holes greater than 1” may require a Tyvek WRB patch installed with proper shingling.
For that patch detail:
- Cut the slit 2” above the hole.
- Extend the repair slit at least 2” on each side of the hole.
- Tuck the cut Tyvek WRB patch into the slit.
- Tape the patch perimeter from the bottom, shingling upper tape over bottom tape.
Check seam adhesion before siding
Tape horizontal and vertical seams when the housewrap serves as an air barrier. Seam tape must adhere uniformly without peeling or open fish mouths.
Add peeling edges and open fish mouths to the correction record, with their wall locations. Photograph the repaired areas during the recheck.
Review exposure before closing the wall
Install cladding as soon as possible after the housewrap or building paper. Extended repetitive wind loading can tear housewrap or elongate fastener holes. Sunlight UV degrades housewrap and building paper.
Tyvek HomeWrap exposure and replacement
Tyvek HomeWrap withstands up to four months (120 days) of UV exposure. If Tyvek HomeWrap is exposed beyond the recommended limit, another layer of Tyvek WRB can be installed over the existing layer, or the existing layer can be replaced. The new layer must integrate with window and door flashing per the applicable DuPont Installation Guidelines. Adding a new layer over overexposed wrap produces a system with lower permeability.
Record the installed product, installation date, exposure history and selected corrective detail. Continue planning with our exterior cladding guide and rainscreen systems guide.
Download the pre-cladding housewrap inspection checklist
Download the editable housewrap inspection checklist (CSV). Use it to record the installed wrap, applicable detail, observations and corrections before cladding.
- Identify the project, elevation, wrap product and installation detail.
- Enter specified and observed lap dimensions by location.
- Record the substrate, cap-fastener type and observed spacing.
- Log seam-tape checks, tear locations and patch details.
- Enter installation and inspection dates alongside the exposure history.
- Assign corrections, attach photographs and record the recheck outcome.
Keep unresolved items on the inspection record for follow-up. Return to Building Materials for the next part of your wall review.
Sources
- Magnera — TYPAR Weather Protection System Installation Guide.
- Barricade Building Products — House Wrap / Flashing Installation Guide.
- DuPont — Tyvek WRB and Flashing Installation Guidelines, Windows and Doors Installed AFTER WRB.
- DuPont — Tyvek HomeWrap product page and FAQ.
- PNNL Building America Solution Center — Drainage Plane Behind Exterior Wall Cladding.
Related articles
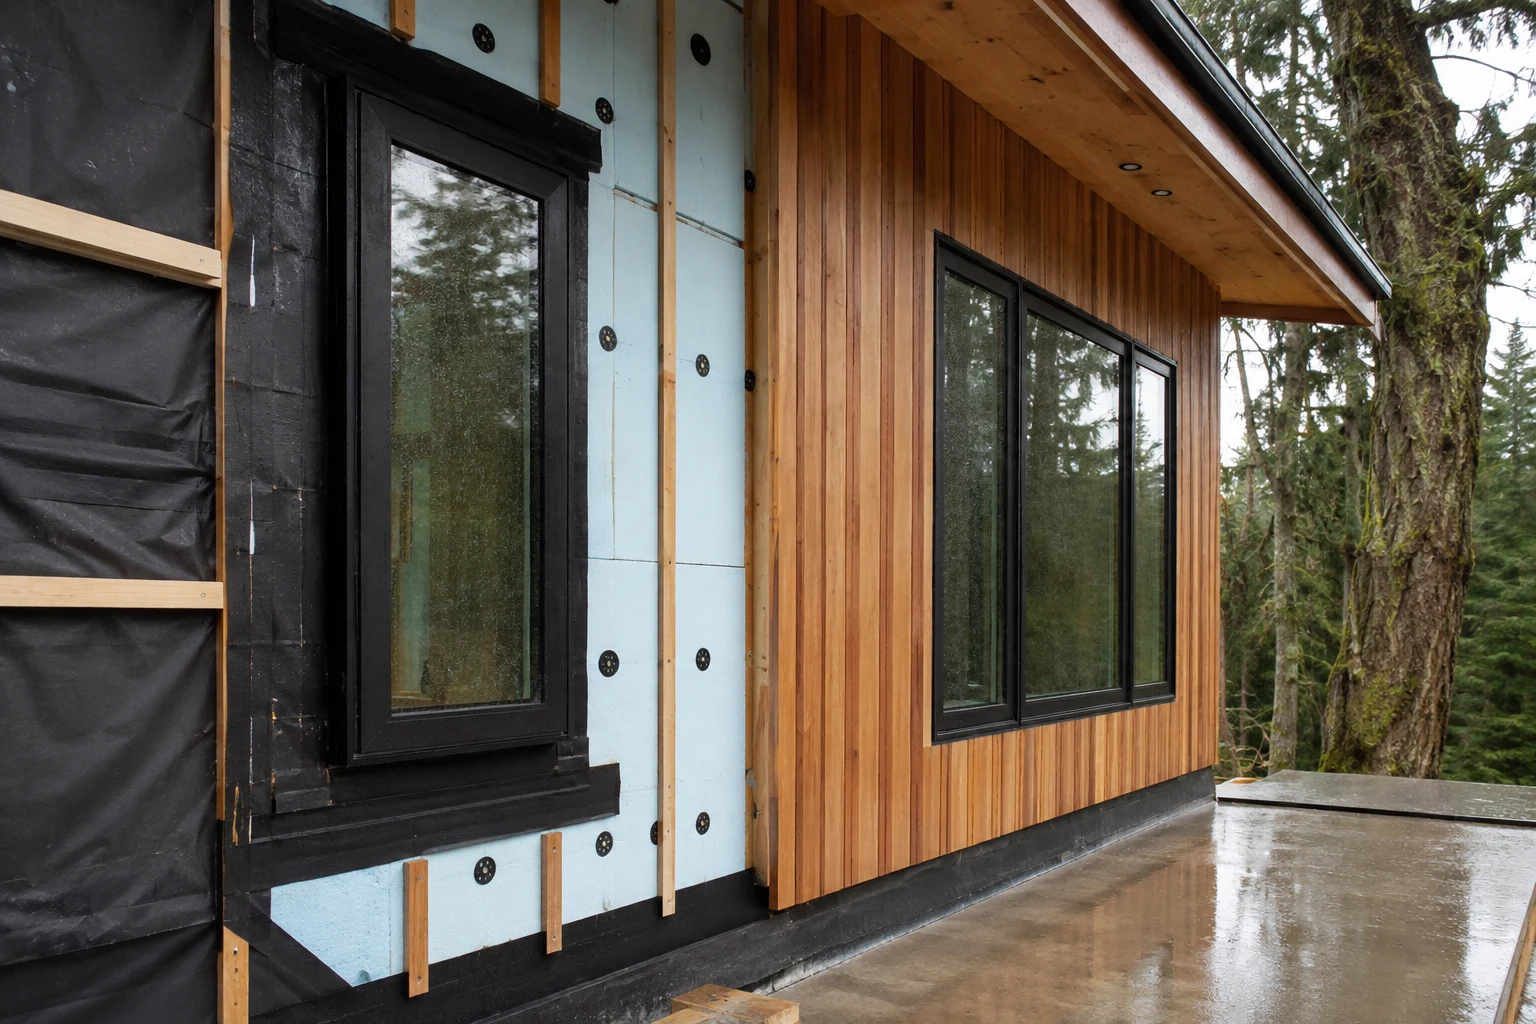
Building Envelope Basics for West Coast Projects
Trace water, air, vapor and thermal control across openings and joints; assign missing details before finishes hide paths for leaks.
Read article
Exterior Cladding Guide for West Coast Buildings
Compare complete cladding systems before sample prices: support, drainage, attachment, fire evidence and maintenance access can change the choice.
Read article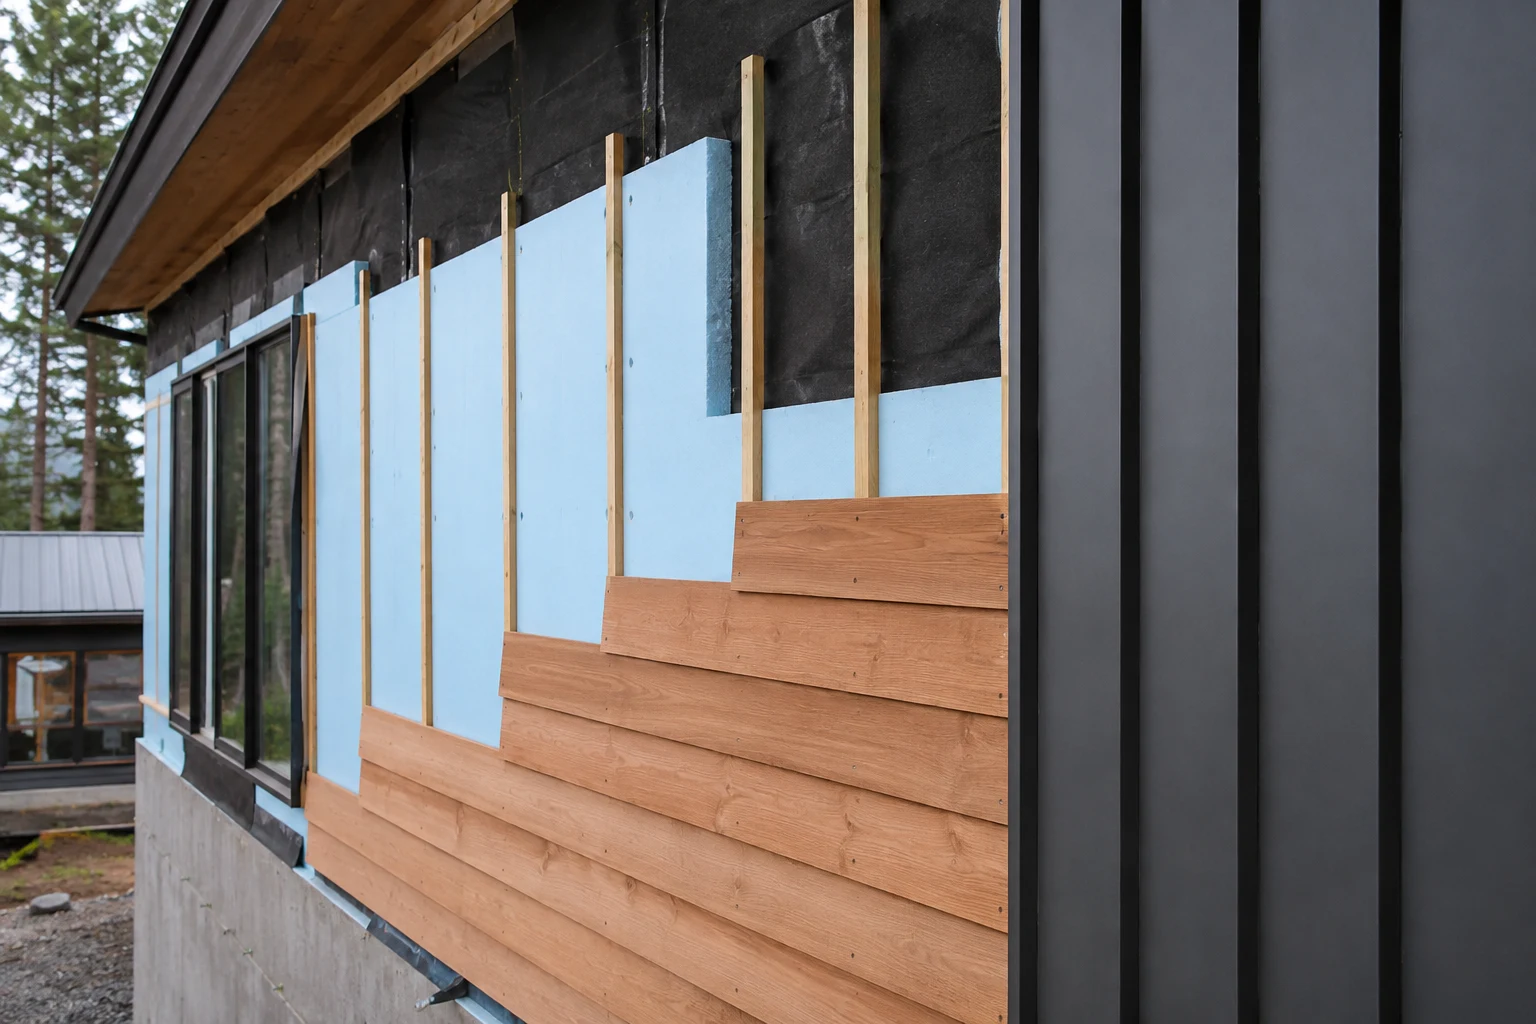
Rainscreen Wall Systems: Design and Construction Guide
Choose drained, ventilated or engineered pressure-controlled walls first; keep the selected system's drainage and ventilation outlets clear.
Read article