
Furring Strips for Vinyl Siding: Rainscreen Gap or Nail Base?
Furring can level a vinyl siding wall, hold fasteners or create drainage space. Check the water path and fastening role before calling it a rainscreen.
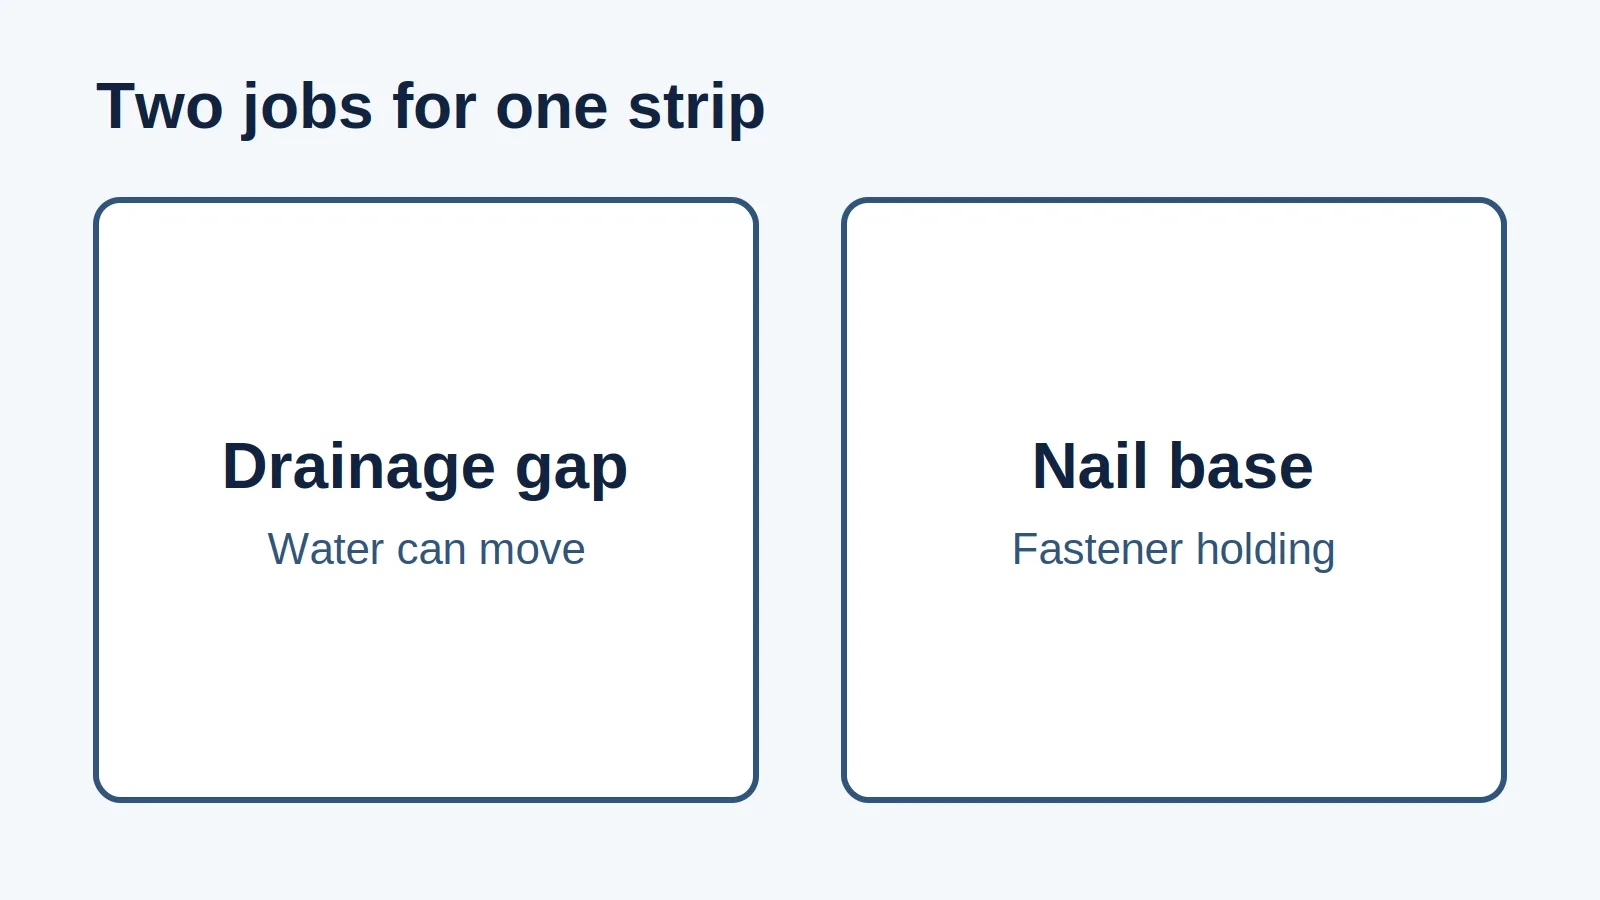
Furring strips for vinyl siding create a drainage gap when their layout maintains separation behind the siding and a connected route for water to reach an exterior outlet. A strip that only levels an uneven wall, supports trim or provides a place to nail does not establish that route. One strip can serve both drainage and fastening roles, but each role needs its own check.
Is there a connected drainage path?
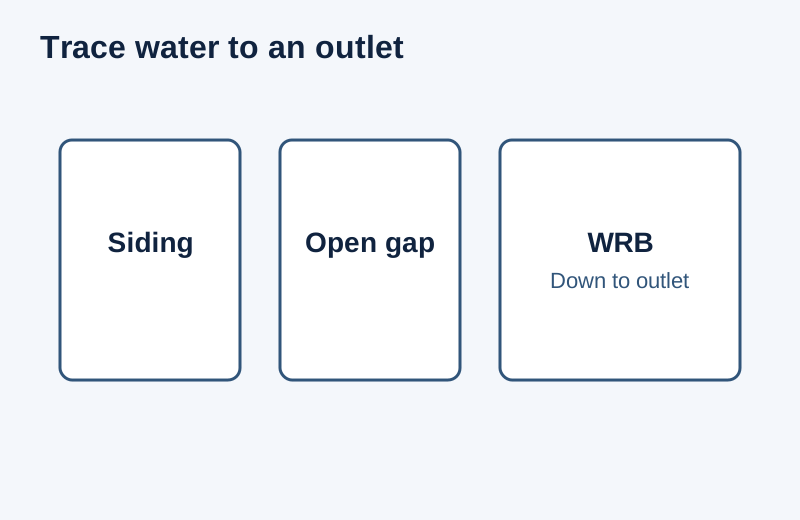
Trace water from behind the siding down the water-resistive barrier (WRB), past openings and interruptions, onto flashing and out of the wall. Furring can hold the siding away from this drainage surface. The WRB and flashing still manage the water; the strips do not replace either layer.
The PEPA vinyl installation guide discusses flat support, furring during re-siding and fastening into nailable materials. The DOE Building America drainage-plane guide explains separation, flashing integration and drainage behind cladding. These are complementary checks: flat support does not establish drainage, and drainage space does not establish fastener holding power.
For the choice of overall wall system, use the rainscreen systems guide. This article focuses on the strip’s role within the selected assembly, rather than repeating that guide’s system classifications.
Which role does the strip serve?
Ask the installer to identify both the support detail and the drainage detail. “Installed over furring” leaves too much unresolved.
Swipe or scroll horizontally to view all columns →
| Furring role | What it accomplishes | Evidence needed | Dominant Failure Mode & Prevention |
|---|---|---|---|
| Leveling or local backing | Corrects uneven support or supports a cut panel or trim | Flat support plane and product-compatible detail | Distorted or poorly supported siding → correct the substrate and maintain required panel movement |
| Drainage separation | Holds cladding away from the water-control layer | Connected water path, flashing and a clear exterior outlet | Water trapped at a strip, trim or termination → resolve the obstruction in the accepted drainage detail |
| Nail base | Provides material that holds the siding fastener | Adequate nailable depth, strip attachment and product-specific fastening requirements | Fastener withdrawal or movement of the support → verify both siding-to-strip and strip-to-structure connections |
A leveling strip may leave pockets behind the siding without connecting them to a drain. Similarly, adding a local strip behind a starter or cut edge does not document the water path for the rest of the wall. The label on the material cannot settle either question.
For horizontal lap siding, a vertical strip layout can preserve downward channels between strips. Horizontal members at trims, openings or other interruptions need a route past them. Do not improvise holes or cuts in structural supports: use the coordinated detail for the selected wall assembly.
Can the strip hold the siding fastener?
There are two connections: the siding fastener into the nail base, and the furring attachment into the supporting wall. Verify both. A thick strip attached inadequately to the building does not become a secure support simply because the siding nail is well embedded.
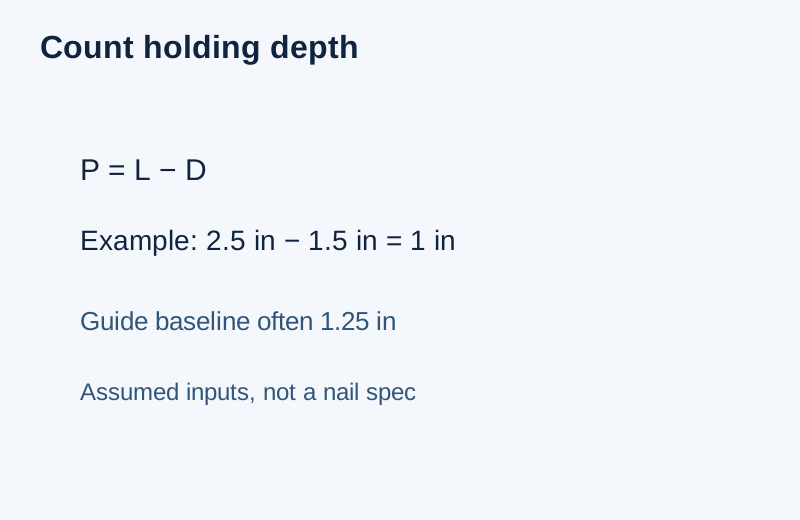
PEPA’s general guide commonly uses 1¼ inches (32 mm) of penetration into nailable wood. It excludes foam from the holding-depth count and directs installers to manufacturer instructions and local variations. This number describes fastening depth; it is not a rainscreen cavity dimension or a universal specification for every vinyl product.
Threshold rule: If verified penetration into acceptable nailable material is less than the selected product’s required penetration, revise the attachment before accepting the strip as the sole nail base. Where the PEPA general baseline applies, compare against 1¼ inches; use the actual product requirement when it differs.
Worked example: count holding depth, not total nail length
Define the working fastener length as the length available below the installed nail hem toward the substrate. Subtract the combined distance occupied by layers and spaces that provide no holding power:
Available penetration, P = working length, L − nonholding distance, D.
Example with assumed inputs: P = 2½ in − 1½ in = 1 in, which is less than the guide’s typical 1¼ in penetration.
Here D is the aggregate nonholding distance, not a proposed drainage-gap size. The calculation flags inadequate reach for that assumed arrangement. It does not select a nail, establish withdrawal strength or verify that the furring is attached adequately. Check the actual layers, acceptable substrate, fastener type and product detail. Preserve the siding’s specified freedom to move; driving the head tight is not a correction for inadequate embedment.
Where does water leave?
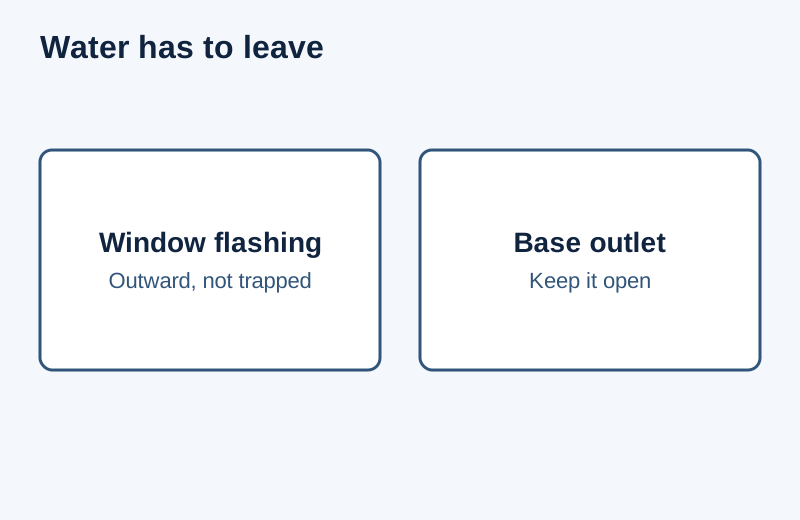
Inspect the wall before siding and trim hide the route. At a window, water on the WRB above the opening must connect to a flashing detail that directs it outward. At the base, the cavity needs its intended discharge path. Screens, closures and trim must fit that detail without sealing the outlet.
Walk the following sequence on the drawing and then on the exposed wall:
- Locate the WRB and check its laps, repairs and connection to flashings.
- Follow each drainage channel downward, including above and below openings.
- Resolve horizontal strips, blocking and penetrations that interrupt the route.
- Identify where water exits at the base and at local interruptions.
- Check the finished condition after trim, paving or adjacent work could obstruct those exits.
Do not infer a suitable cavity depth from a nominal strip label. Use the exact siding and wall-assembly documentation, exposure and applicable requirements. Drainage function also depends on continuity and outlet details, so added thickness alone does not establish a working assembly.
What creates hidden cost during re-siding?
Furring moves the finish plane outward. Window returns, corner details, utility mounting blocks and flashing extensions may all need coordination. These interfaces can create more work than the strips themselves. Removing old siding may also reveal rotten sheathing or framing that needs repair before a flat support surface can be established.
Compare scopes for substrate investigation and repairs, WRB continuity, support attachments, opening adjustments, closures and access for inspection. Keep material price separate from the labor needed to complete those connections. A lower strip allowance can conceal omitted interface work and later removal to repair it.
Use the siding material comparison if the finish itself remains undecided, and the building materials hub to connect support, flashing and enclosure choices. Before concealment, record the product instruction edition, the strip’s role, the attachment detail and the drainage outlet locations together.
Sources reviewed October 19, 2026: PEPA, “Getting Started” sections on sheathing, fasteners and wall preparation; DOE Building America, “Drainage Plane Behind Exterior Wall Cladding,” scope and description. General drainage principles do not establish approval of a particular vinyl siding and furring combination.
Related articles
Housewrap Inspection Before Cladding: Shingle Laps, Cap Fasteners and Tear Repairs
Inspect housewrap laps, cap fasteners, seam tape and tear repairs before cladding. Compare product-specific details and download an inspection checklist.
Read article
Window Flashing: Sloped Sill Pans, Shingle Laps and Weep Paths
Trace window flashing from sill pan to jambs and head. Check back dams, shingle laps and drainage outlets before siding conceals the opening.
Read article
Parapet Coping Installation: Review Joints and the Water Layer Beneath
Separate the metal coping cap from the waterproof membrane beneath it, and verify splice plates, miters, wall terminations, and substrates before closure.
Read article